Making homemade Oven Roasted Turkey with Gravy for Thanksgiving is easier than you think! Just follow my simple tips for the Best Thanksgiving Turkey Ever, including an optional dry brine- that is crazy easy to do! This post contains affiliate links for products I’m obsessed with.
Confession: the first time I ever roasted a turkey, I roasted it upside down. On accident.
Apparently this is a thing…but I truly had no idea. I was 22, living in one of my first apartments, and I offered to make our Thanksgiving Turkey to bring over to my grandmother’s house. We were all trying to make the holiday prep as easy as possible for her.
Anyway, that upside down turkey? It ended up being the BEST turkey ever. And although this happened many years ago, I always go back to this method because it makes the juiciest turkey ever!
Why is it better to oven roast a turkey upside down?
When you cook your turkey upside down, you allow the juices from the bones and cavity to trickle down onto your breast meat, keeping it super juicy and flavorful! There is no risk of drying out the white meat and it self bastes while cooking, so you don’t have to open your oven door frequently during cook time.
More Thanksgiving Turkey Tips:
Don’t forget to Thaw the Turkey
If you aren’t buying a fresh Turkey, you will need to thaw your frozen bird in the fridge. A good rule of thumb to remember is for every 4-5 pounds of Turkey, you will need to thaw it in the fridge for 24 hours. So if you have a ten pound turkey, you will want to move it to the fridge by Tuesday at the latest in order for it to thaw in time.
Dry Brine
Brining will help you cook the most succulent turkey you’ve ever had — and my new favorite way to do this is with a dry brine. Dry brining is very simple and way less messy than a wet brine. Here’s how it works:
- The day or two before roasting your turkey, remove it from the fridge. Remove the bag of giblets and the neck- found in the large cavity and sometimes the smaller neck cavity (check both areas just to make sure you got everything out). You can save these items for gravy or discard them. Pat the turkey dry with paper towels.
- For every 5 pounds of turkey, you will need 1 Tablespoon of kosher salt.
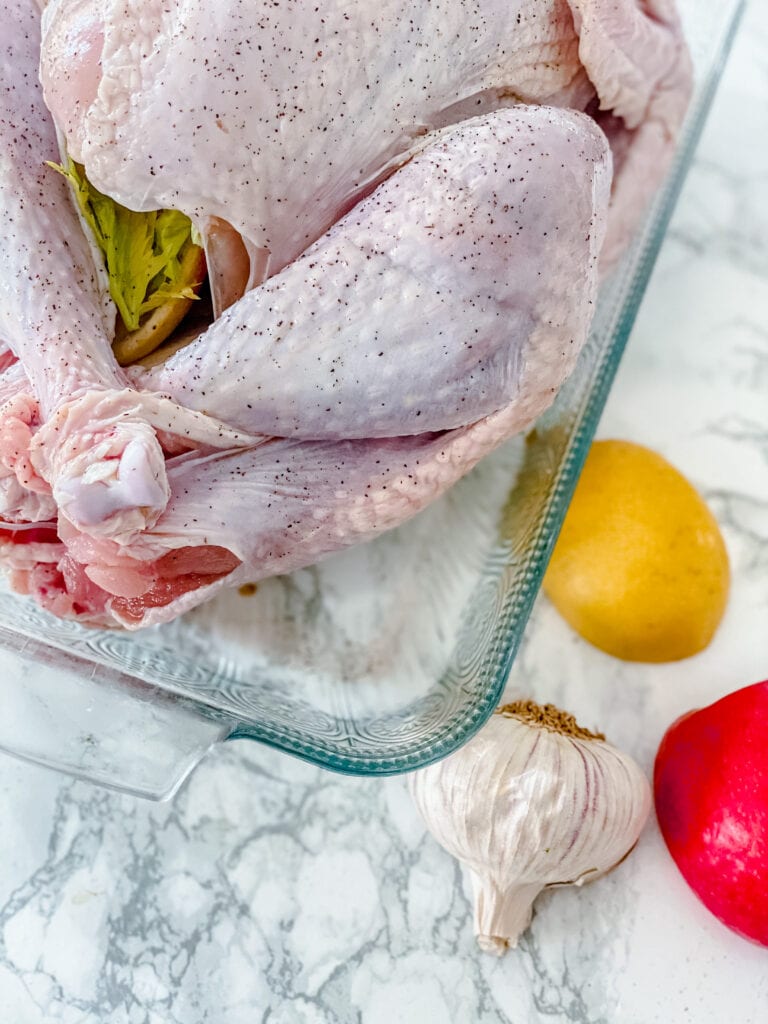
- Simply rub half of salt inside the body cavity of the turkey, then the remaining salt goes on outside of the turkey: breasts, legs, and thighs. Be sure to spread it on the top and bottom of the bird.
- Put the turkey in a roasting pan or on a platter, lightly cover it with foil, and then store it in the fridge until you’re ready to cook.
If you prefer a traditional brine recipe or want more info on why you should brine your turkey, check out this What is Brine post.
How to Prep your Turkey on Thanksgiving
- First, take your turkey out of the fridge and let it rest on the counter for one hour. This will help cut down the cook time.
- Next, gather your equipment and supplies. You will need:
- A Roasting Pan – you want one like this one with a V- rack. If you don’t have one, however, you could use a disposable pan from the grocery store and you will still have a yummy turkey!
- A digital thermometer – an instant read digital meat thermometer is the best tool against over cooking or undercooking your turkey (or any other meat you decide to make).
- A basting brush – I prefer a silicone brush like this one for easier cleaning.
- Aromatics – lemon, onion, garlic, apple, celery, fresh parsley, thyme, sage and/or rosemary
- Oil or butter – to rub onto the skin of your turkey before roasting
- Preheat your oven to 425 degrees.
- If you haven’t already, remove the neck and giblets, and also remove any plastic items from your turkey including the pop up timer which doesn’t always work and you really don’t need it!
- It’s not as common to stuff a bird with stuffing these days, so we are going to skip that. But you definitely don’t want to skip the aromatics! Season the inside cavity with black pepper, squeeze in some lemon, then place the lemon, onion, garlic, celery, apple, and fresh herbs inside the turkey.
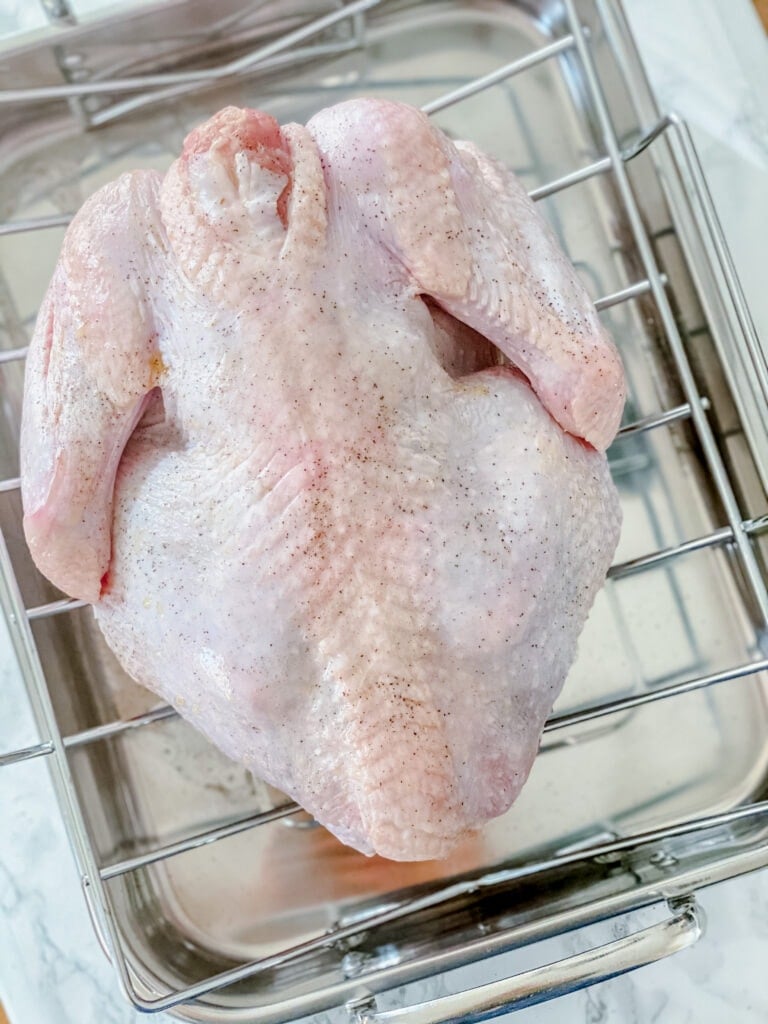
- Place the turkey breast side down on your roasting pan and cook for 30 minutes at 425, then reduce heat to 325. Baste with melted butter or pan drippings, if you have any.
- Add 1-2 cups of broth or water to the bottom of your roasting pan. Continue roasting the turkey breast side down.
Looking for a different way to enjoy Turkey? Check out this How to Fry a Turkey post. Want to try a smoked turkey? Check out this Traeger Smoked Turkey recipe!
To Truss or Not to Truss?
I trussed my turkey in for this post because, well, it just looks prettier. You really don’t need to truss your turkey and it actually cooks more evenly if you don’t truss it!
If you still want to truss your turkey, here’s an article to show you how using some simple kitchen twine. No twine? This hack was super easy and worked perfectly for me!
How long to Roast Turkey in the Oven
A good rule of thumb is to roast a turkey at 325 for 15 minutes per pound. So a ten pound turkey would roast for 150 minutes according to this rule. However, the BEST, and most accurate way, to know when your turkey is done is to use a digital meat thermometer! Test by inserting an instant-read thermometer into the thickest part of the turkey breast, away from the bone; it should register 165-170 degrees.
Here are some more guidelines for your planning:
- For a 10-14 pound turkey: 2 1/2 hrs to 3 1/2 hrs
- For a 14-18 pound turkey: 3 1/2 hrs to 4 1/2 hrs
- For a 18-22 pound turkey: 4 1/2 hrs to 5 1/2 hrs
To Flip or Not to Flip
Should you flip your turkey over before it finishes? That depends.
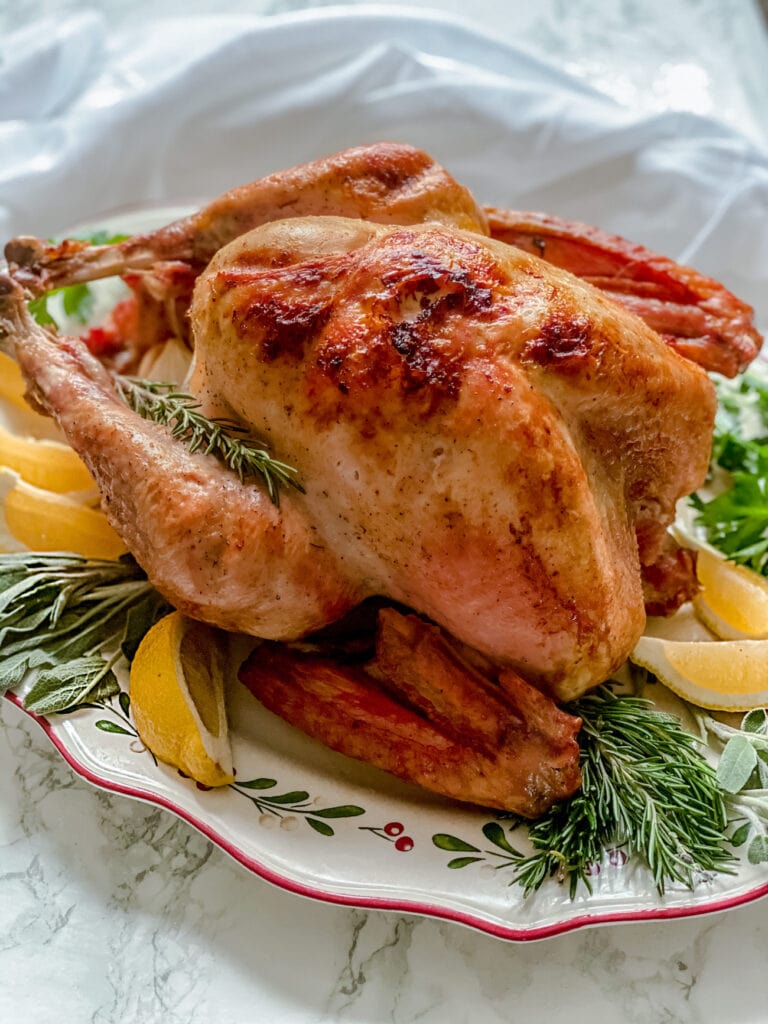
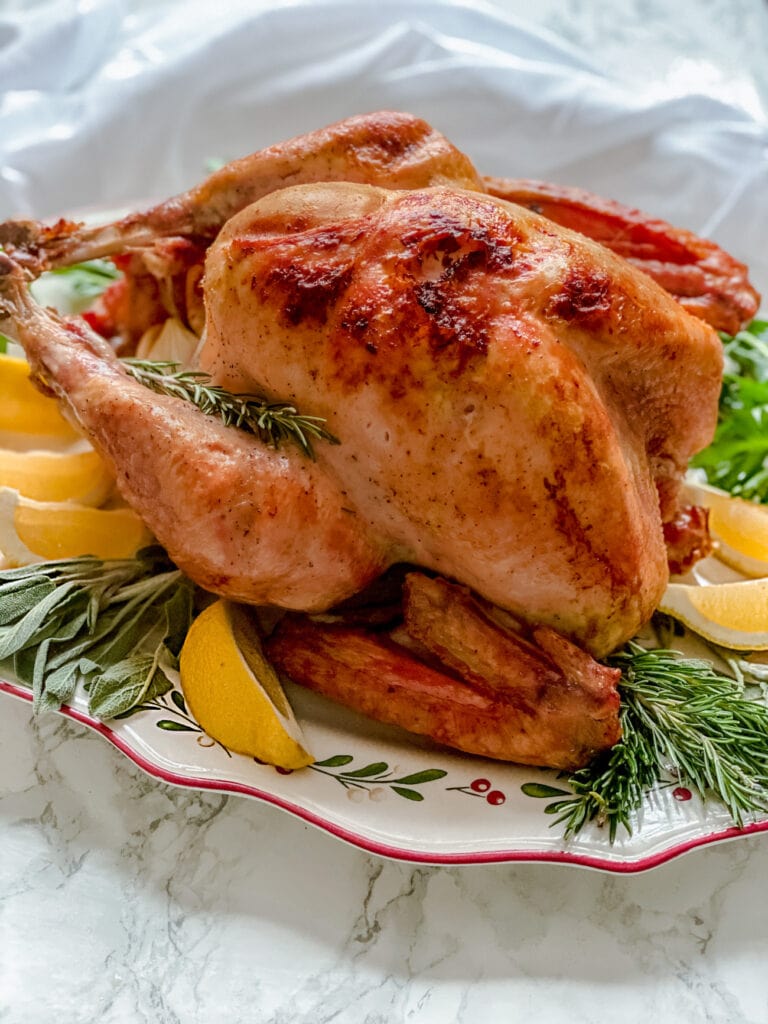
If you like to present your turkey on a platter on your Thanksgiving Table, like I have here, or if your family can’t get enough of crispy turkey skin, you can flip your bird over with 30 minutes of cook time left. Using silicone gloves, carefully flip your bird over and cook for the remaining time right side up to allow the skin to crisp. You could also add a short, 2-3 minute broil at the end, as well.
If presentation doesn’t matter to you, you do not have to flip your turkey at all. And there will actually still be plenty of crispy to go around at the end of cook time! It’s totally up to you!
Let Your Turkey Rest
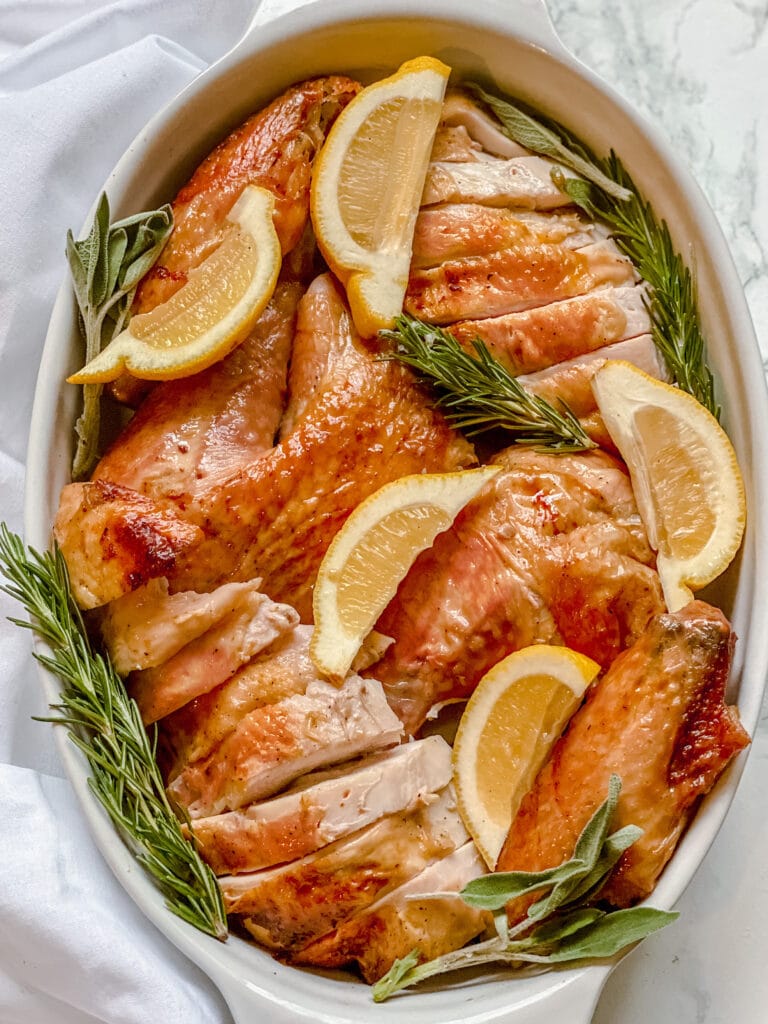
Be sure to let the turkey to rest for 30 minutes before carving. This allows the juices to redistribute, making for a deliciously juicy turkey. To keep the turkey warm, you can tent the turkey with aluminum foil and let it rest on your counter.
While you are for your turkey to rest, pour a glass of this Thanksgiving Punch and pat yourself on the back for a job well done!
Make your own Gravy
Don’t get rid of those pan drippings! You will use them to make a quick and simple gravy.
Additional Gravy Ingredients needed:
- GF or Whole Wheat Flour, Cornstarch, or Arrowroot powder
- Chicken or Turkey Broth/Stock
- Butter
Follow the simple directions below to make a delicious gravy everyone will want to try!
Side Dishes to Serve with Oven Roasted Turkey
Healthy Sweet Potato Casserole
Butternut Squash Mac and Cheese
Crispy Brussels Sprouts with Bacon, Parmesan, and Balsamic
Instant Pot Loaded Cauliflower Mash

Easy Oven Roasted Turkey with Gravy
Ingredients
For the Turkey
- 10-16 lb fresh or frozen turkey I got mine from ButcherBox!
- Kosher salt
- Black pepper
- 1 lemon quartered
- 1 stalk celery
- 1 onion quartered
- 2-3 cloves garlic
- 1 small apple quartered
- Fresh herbs such as parsley sage, rosemary, and thyme
- Butter or olive oil
Gluten Free Gravy
- 2 cups turkey drippings + low-sodium chicken/turkey broth or stock
- 2 tablespoons gluten free flour cornstarch, or arrowroot powder
- 2 tablespoons butter vegan butter, or ghee
- Salt + pepper to taste (if you brine, you likely won’t need any!)
Instructions
To Brine:
- The day or two before roasting your turkey, remove it from the fridge. Remove the bag of giblets and the neck- found in the large cavity and sometimes the smaller neck cavity (check both areas just to make sure you got everything out). You can save these items for gravy or discard them. Pat the turkey dry with paper towels.
- For every 5 pounds of turkey, you will need 1 tablespoon of kosher salt.
- Rub half of salt inside the body cavity of the turkey, then the remaining salt goes on outside of the turkey: breasts, legs, and thighs. Be sure to spread it on the top and bottom of the bird.
- Put the turkey in a roasting pan or on a platter, lightly cover it with foil, and then store it in the fridge until you’re ready to cook.
To Roast the Turkey:
- First, take your turkey out of the fridge and let it rest on the counter for one hour. This will help cut down your cook time. Do NOT rinse your turkey from brining.
- Preheat your oven to 425 degrees.
- If you haven’t already, remove the neck and giblets, and also remove any plastic items from your turkey including the pop up timer which doesn’t always work and you really don’t need it.
- Season the inside cavity with black pepper, squeeze in some lemon, then place the lemon, onion, garlic, celery, apple, and fresh herbs inside the turkey. Brush skin with 2 tsp olive oil or melted butter. **If you didn’t dry brine your turkey, also sprinkle with salt inside and out.
- Place the turkey breast side down on your roasting pan and cook for 30 minutes at 425, then reduce heat to 325. Baste with 1 tsp melted butter or pan drippings, if you have any.
- Add 1-2 cups of broth or water to the bottom of your roasting pan. Continue roasting the turkey breast side down for 15 minutes per pound. Test doneness by inserting an instant-read thermometer into the thickest part of the turkey breast away from the bone; it should register 165 degrees.
Here are some more guidelines for your planning:
- For a 10-14 pound turkey: 2 1/2 hrs to 3 1/2 hrs
- For a 14-18 pound turkey: 3 1/2 hrs to 4 1/2 hrs
- For a 18-22 pound turkey: 4 1/2 hrs to 5 1/2 hrs
- If you want to flip your bird over to crisp the skin, do so with 30 minutes of cook time left. Using silicone gloves, carefully flip your bird over and cook for the remaining time right side up to allow the skin to crisp. You could also add a short, 2-3 minute broil at the end, as well. This step is totally optional.
- After your turkey is finished cooking and the breast has reached 165 degrees, remove from the oven and allow it your turkey to rest for 30 minutes before carving.
Gravy
- Let the drippings sit for a few minutes until the fat separates and rises to the top. Skim off the fat so that just the broth remains. You want at least 2 cups of broth to make your gravy, so add your boxed broth or stock to make up for the difference.
- In a separate microwave safe small bowl, melt the butter. Remove from heat, then stir in the flour, cornstarch, or arrowroot powder to create a slurry.
- Transfer stock mixture to a pot and bring to a boil, reduce heat and whisk in slurry and simmer until thickened.
- Taste and add salt/pepper if desired.



Sara says
My very first thanksgiving (20 lb) Turkey was prepared following this exact recipe, brine and all, and let me tell you it did NOT disappoint. The Turkey was so delicious and moist with golden brown skin. You must not skip the brine if you use the pan drippings to make the gravy because it makes the gravy that much better. I got a beautiful dark gravy out of these pan drippings and the seasoning was on point. This is 5/5 stars for me!
Nancylynn says
Congratulations on your first turkey!! That’s a big one too! Thank you for trusting the recipe with your special holiday meal!
Rhonda says
I’m making a five pound Turkey breast..should I still flip it over? lol
Nancylynn says
I would totally cook it upside down and not flip! Do you have an Instant Pot? This is yummy in an IP!