A recipe for healthier gluten-free sugar cookies that are dairy free, too! Perfect for a holiday cookie treat or whenever you get the craving for something sweet!
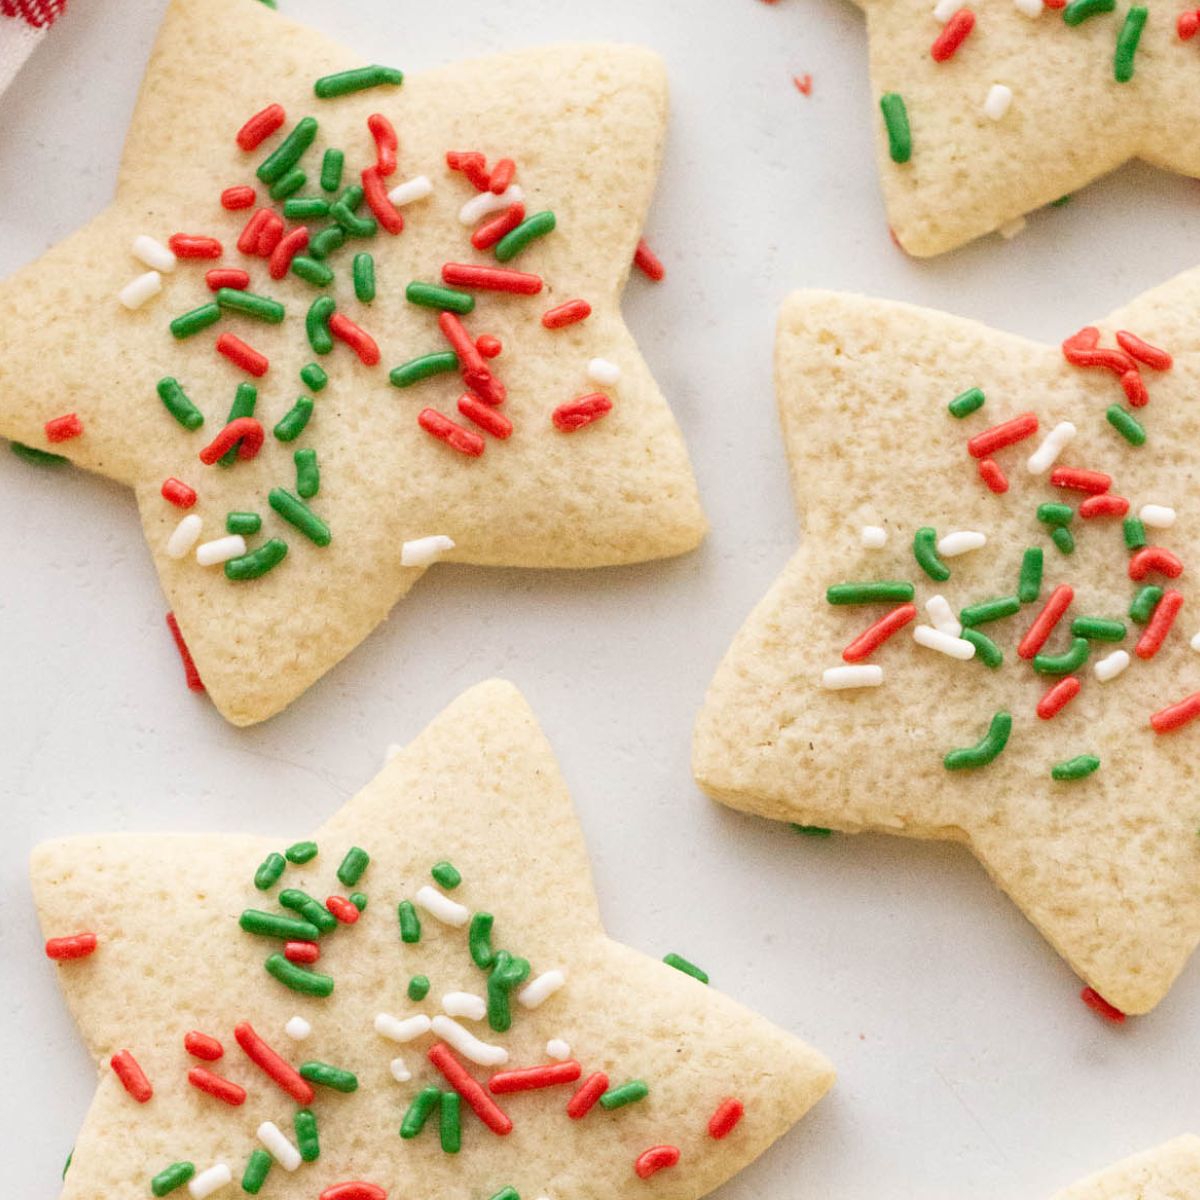
I have wanted to make a dairy free, gluten-free sugar cookie recipe that is also a touch healthier with 21 Day Fix Container Counts for many years now. During one of our many days home sick in November, I decided to just go for it, using my favorite gluten-free flour mix, and less butter and sugar than traditional sugar cookies.
My first batch was devoured that same day and both of my kids declared them delicious, so I am excited to bring to you these yummy cutout sugar cookies with container counts for the 21 Day Fix! And nope – they are not a treat swap!
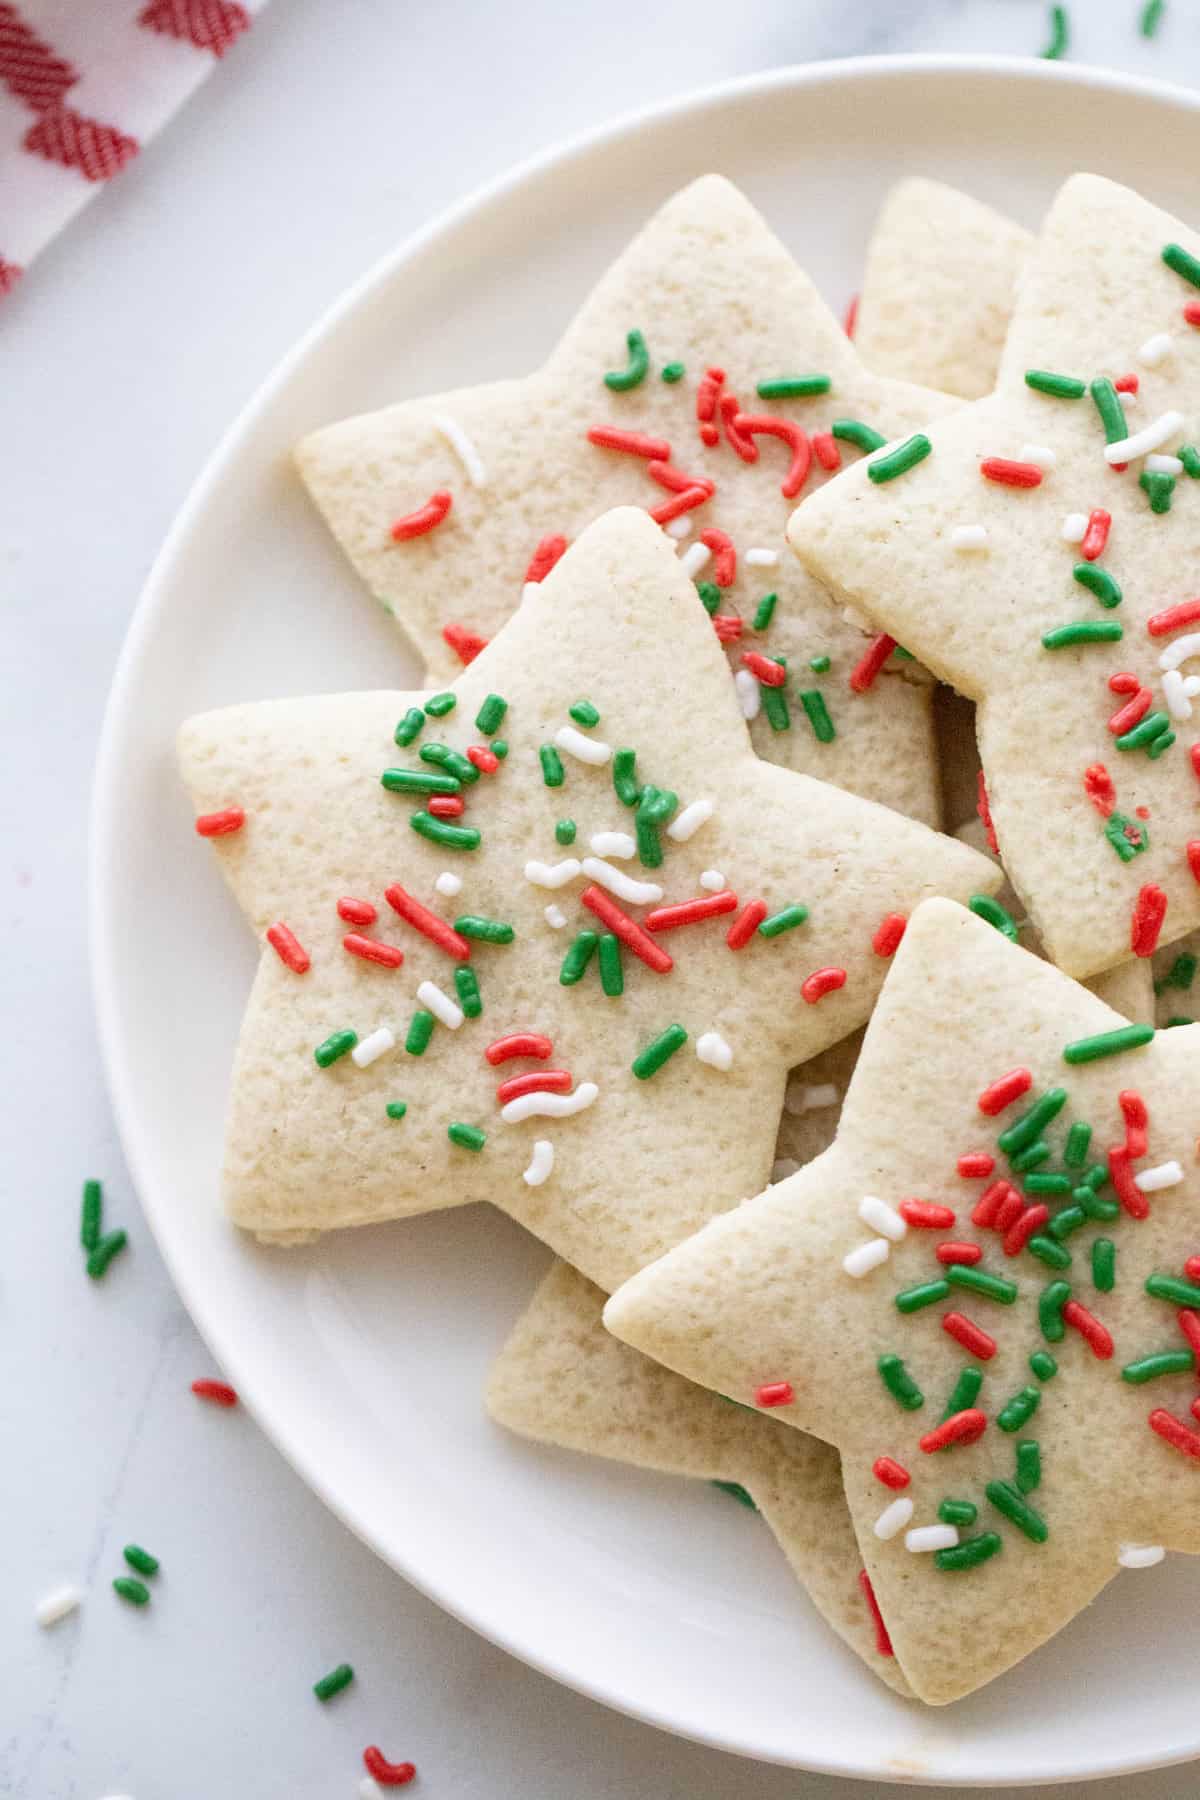
Why I love this recipe
- They are gluten AND dairy free but also work with dairy butter, too.
- It was super easy to “containerize” them for the 21 Day Fix and you can actually eat more than one cookie without getting off plan for your day.
- Both of my kids love them, so even though they are “healthier,” these cut-out cookies would totally work as Christmas Cookies or any special occasion cookie.
- The dough is crazy easy to work with – no chilling or wait time – and the cookies bake very quickly.
- Minimal ingredients that you likely have on hand, and everything gets mixed right on one bowl, so less mess!
Have a gluten and dairy free friend? These cookies would be a great homemade allergy friendly cookie to give as a gift. Check out this post on how to create the ultimate cookie gift box to really impress them.
Looking for more dairy free and gluten free cookie ideas? Check out this post of my favorite Gluten and Dairy Free Christmas Cookies!
Recommended Equipment
Ingredients
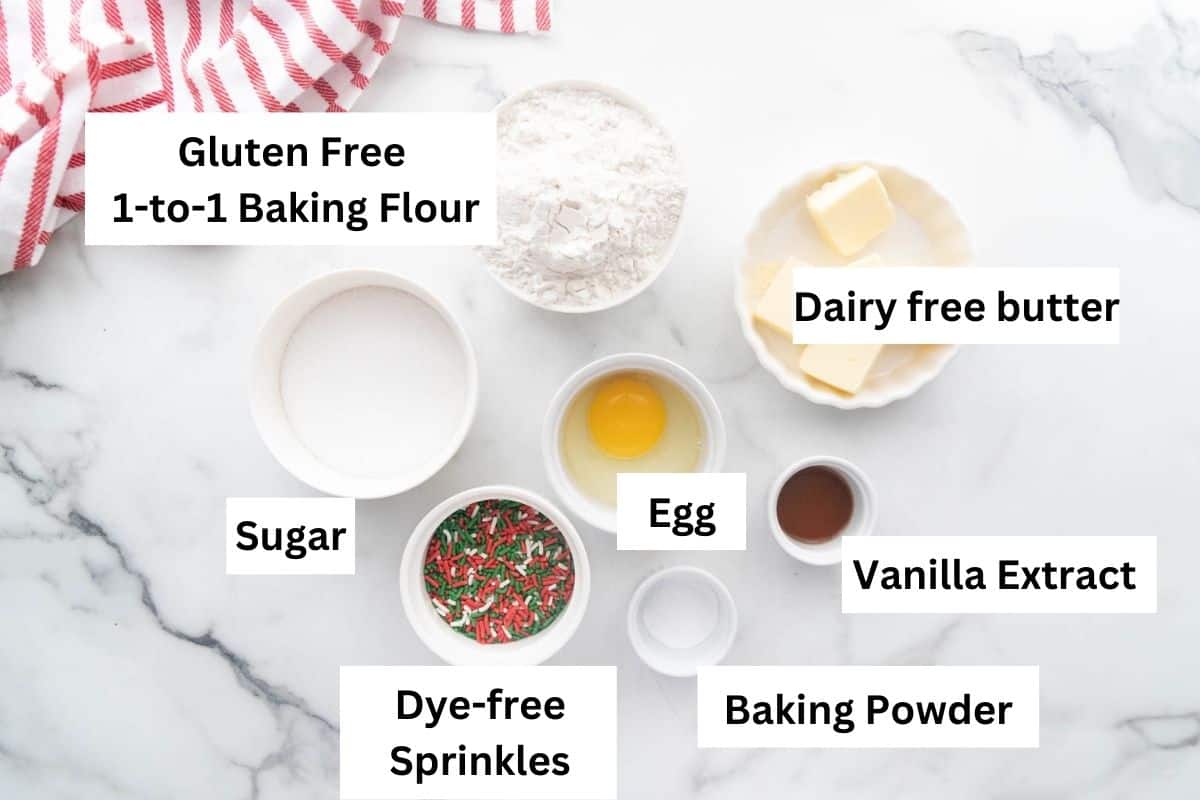
Exact measurements can be found in the recipe card below.
- Dairy free butter, softened – I used Earth’s balance dairy free sticks, but if you don’t need dairy free, you can use regular unsalted butter.
- Organic sugar – You can sub regular cane sugar.
- Egg at room temperature – TIP: if your egg is cold and you are in a hurry, place it in a bowl of warm water to bring it to room temperature in minutes.
- Vanilla extract – You can sub almond extract, if you prefer that flavor.
- Gluten free 1:1 baking flour – you will find many different gluten-free flour blends at your grocery store, but I use Bob’s Red Mills 1-to-1 Baking Flour because it includes xantham gum. You should be able to sub regular all purpose flour if you are not gluten-free.
- Salt – Omit if using dairy free butter because they tend to already be salty.
- Baking soda – Be sure you replace your baking soda often for the best results when baking.
- Dye-free sprinkles or regular sprinkles – I love this brand of dye-free sprinkles, but you can also use regular sprinkles or omit them entirely!
Instructions
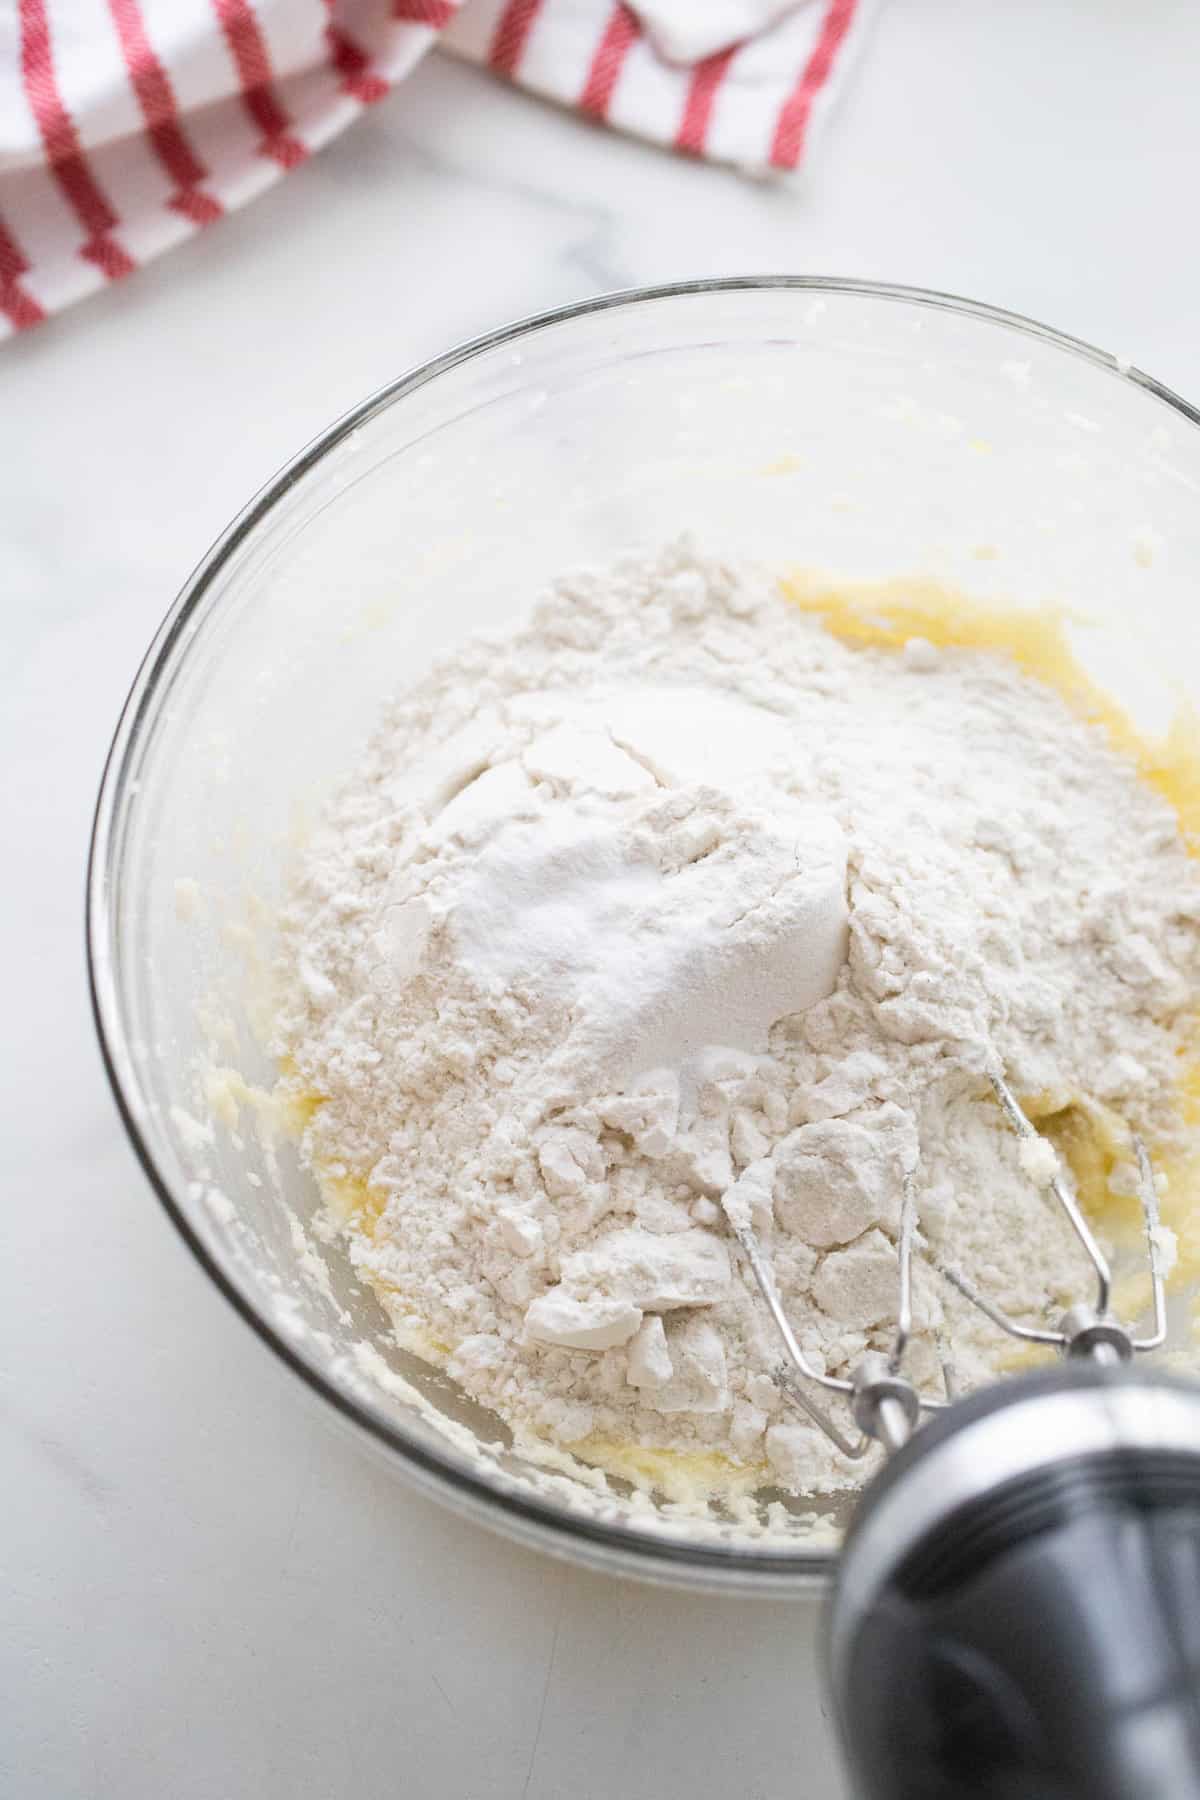
- Preheat the oven to 350 degrees F.
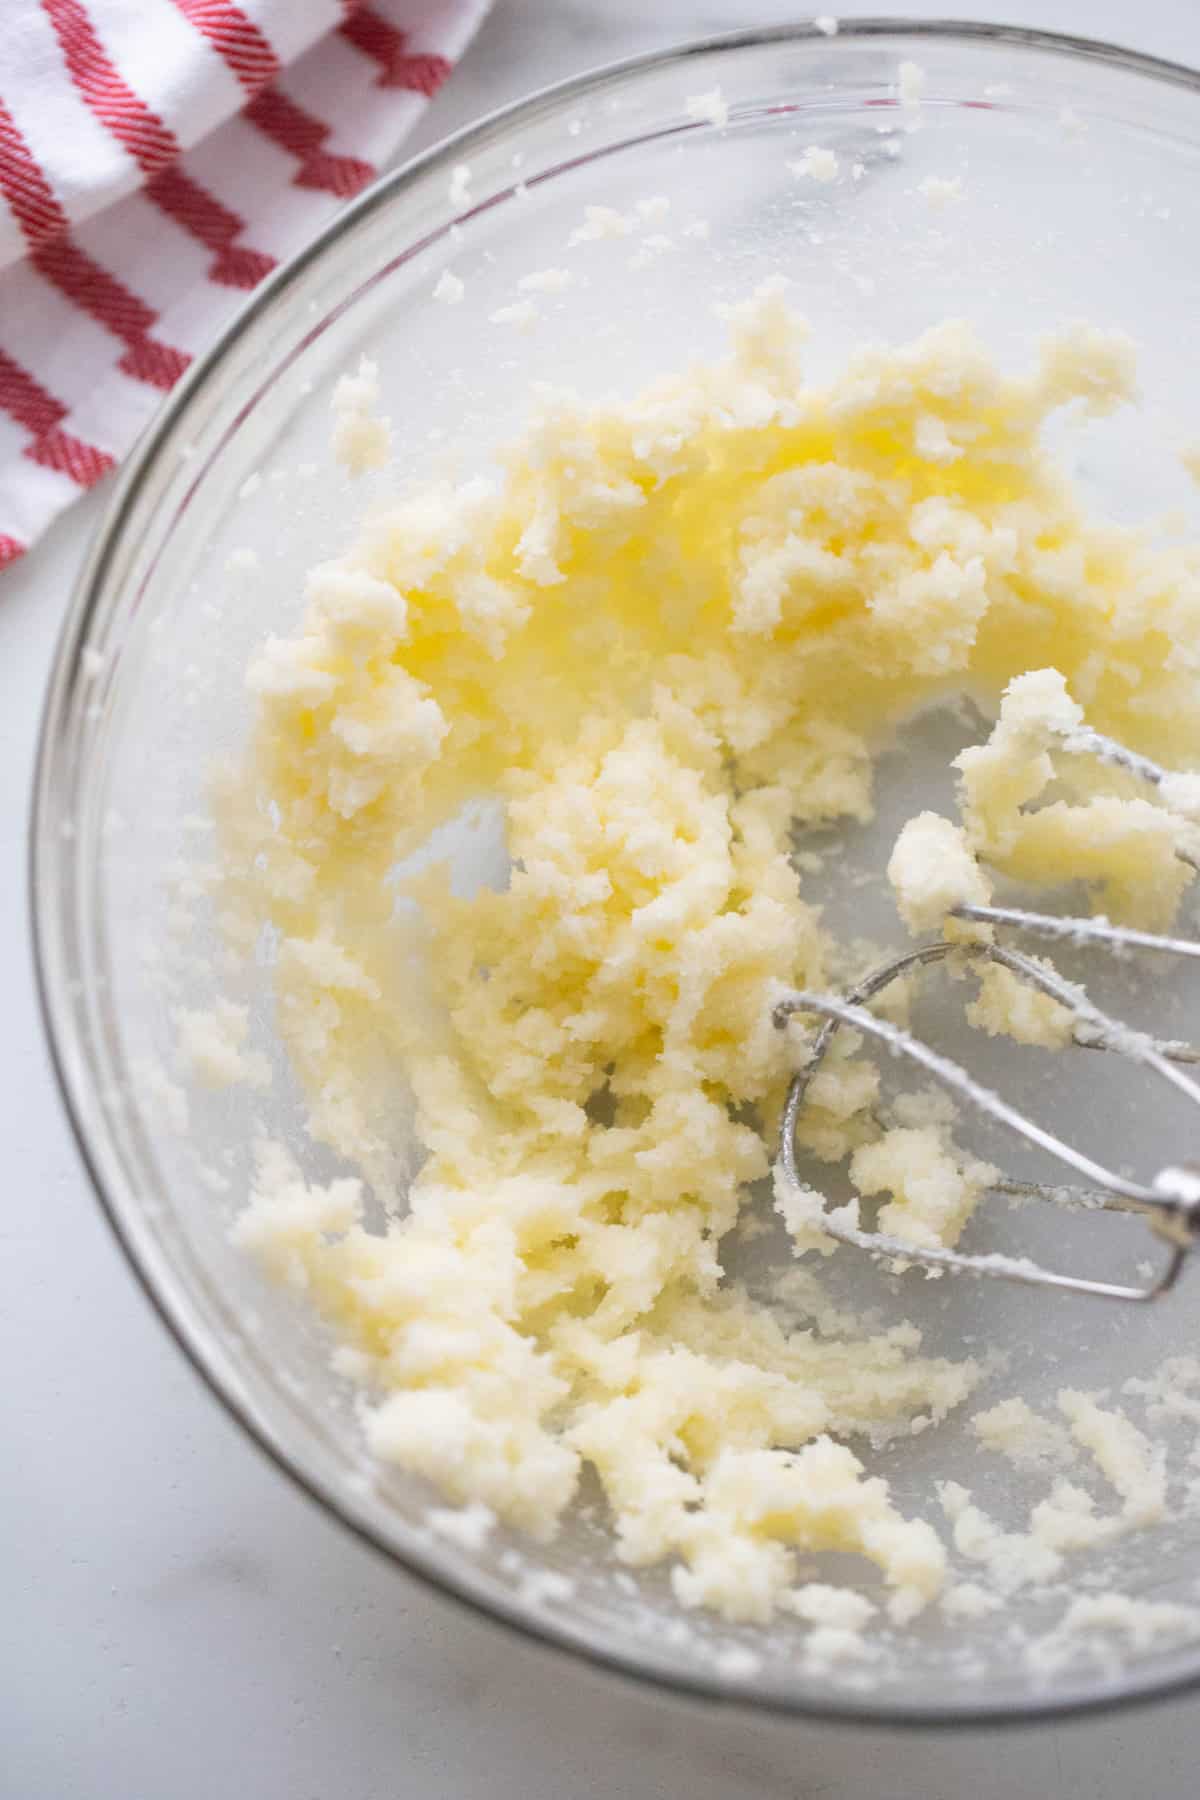
- With an electric mixer or in the bowl of a stand mixer, beat together the butter and unrefined sugar on medium-low speed for about 2 minutes.
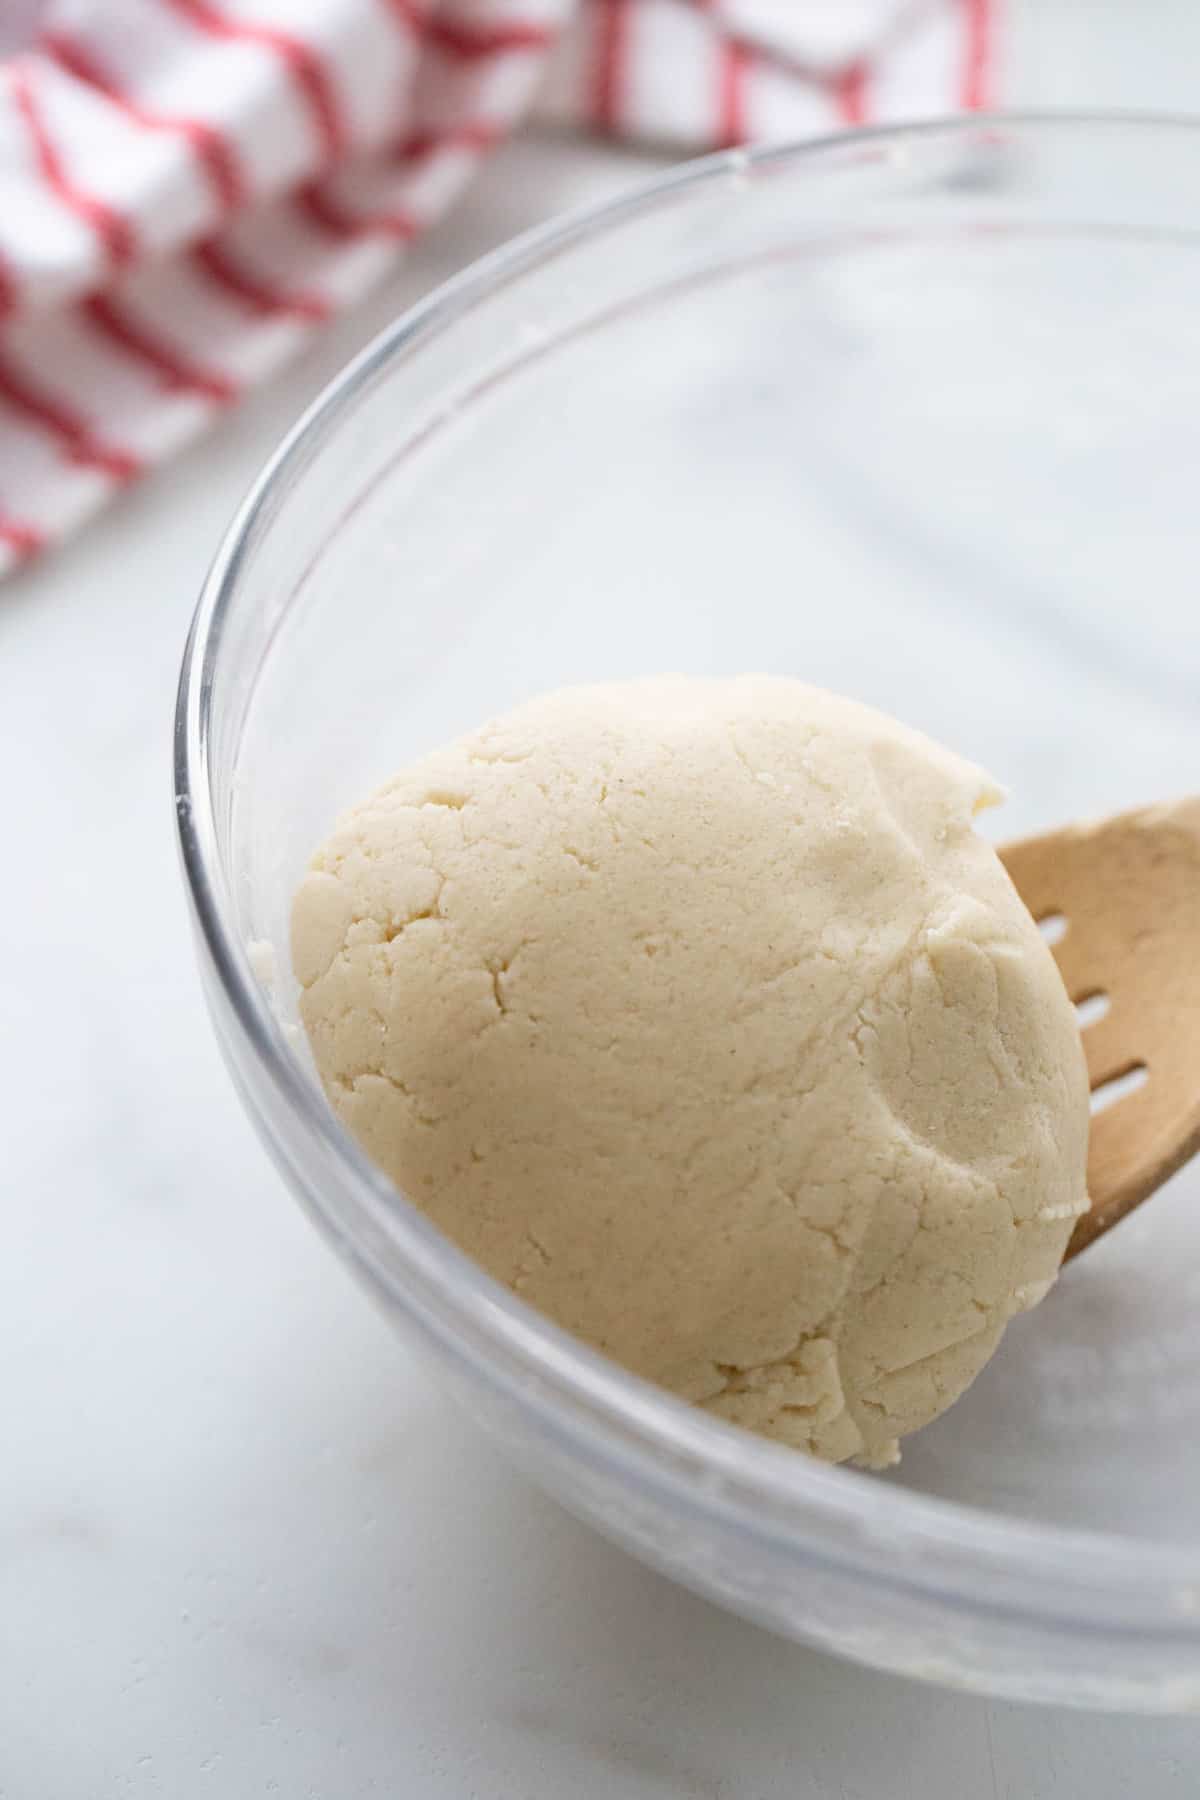
- Add the egg and vanilla extract and beat until well combined. Add dry ingredients and beat until combined and a dough ball forms.
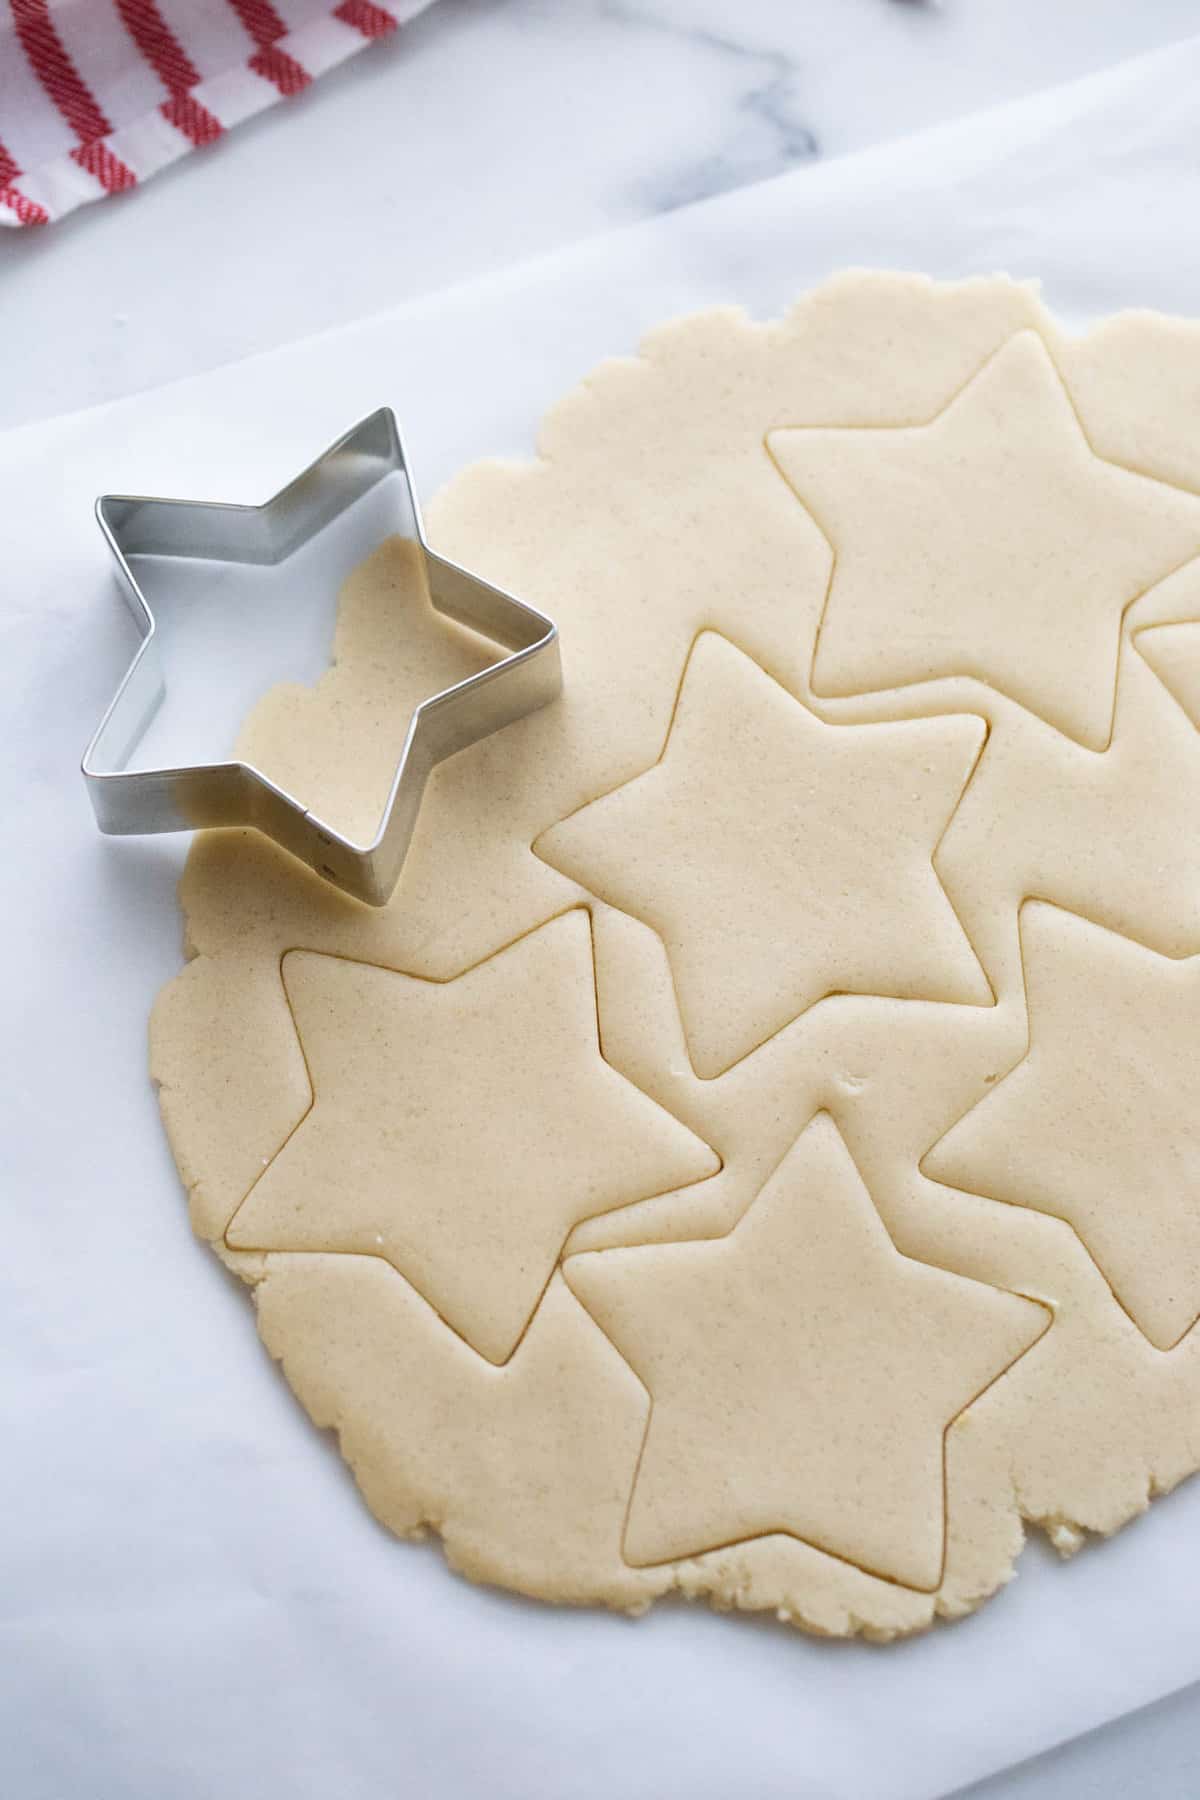
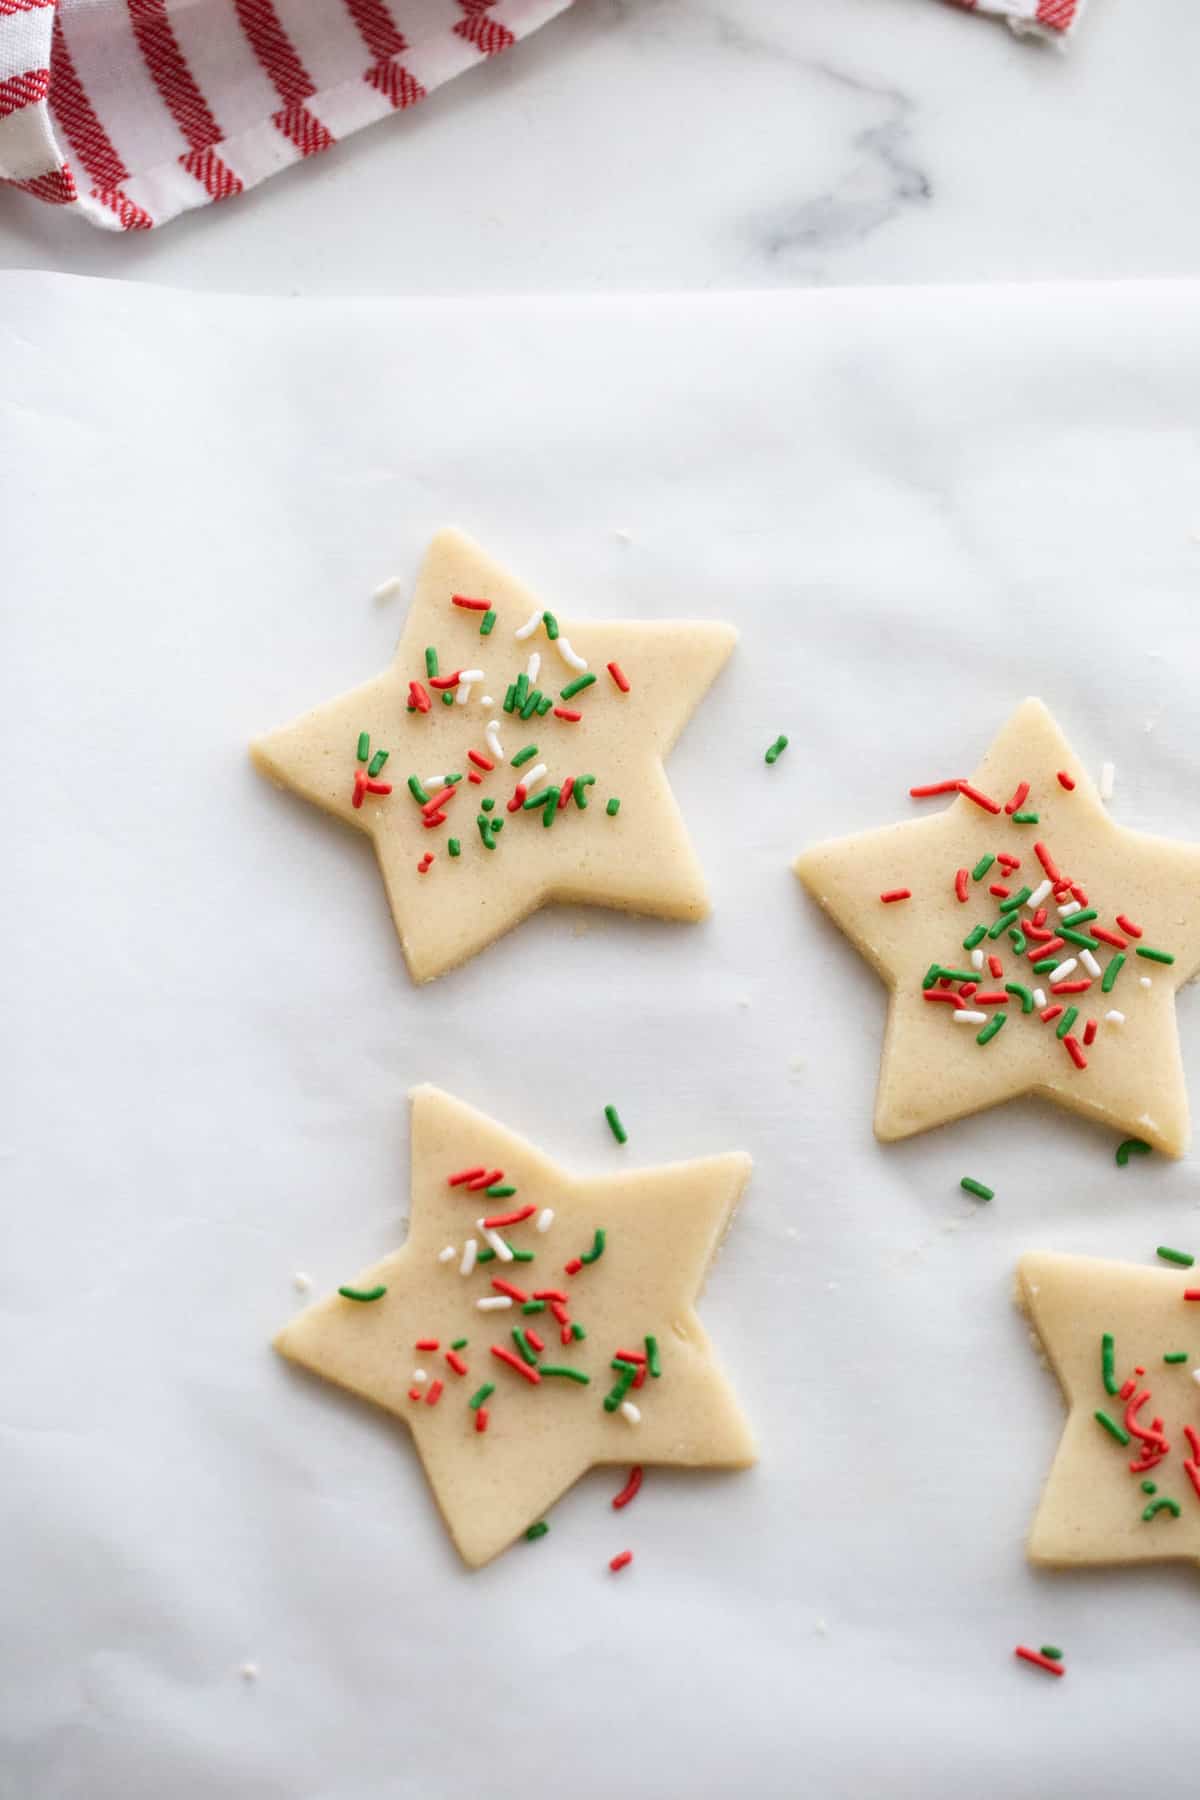
- Cut two pieces of parchment paper, and using a rolling pin, roll out sugar cookie dough between them. Roll dough about ¼-⅛ inch thick. You don’t want them too thin or they will be too crispy!
- Remove the top portion of parchment paper and set aside.
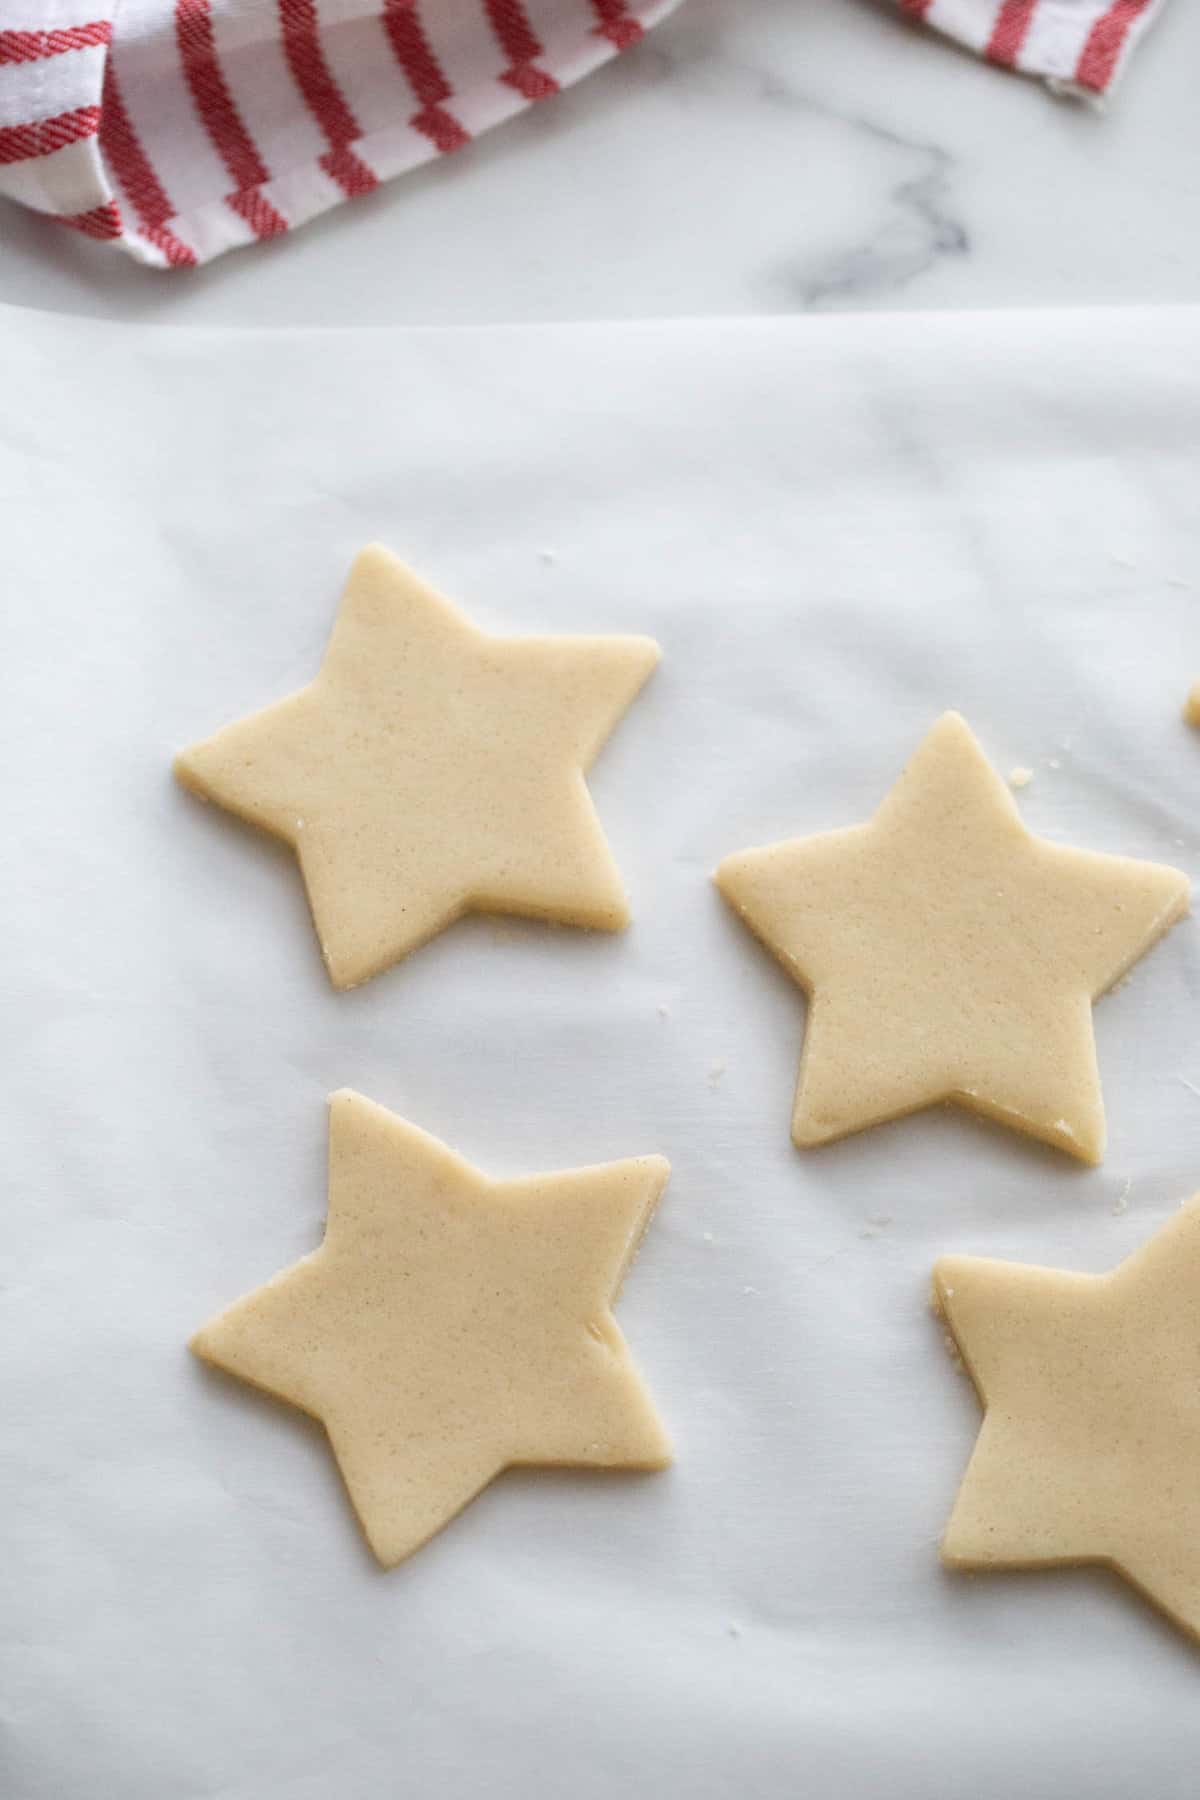
- Using your favorite cookie cutters or a small glass, cut out your desired cookie shapes. Carefully remove excess dough from the parchment paper, wrap in plastic wrap, and place in the fridge while you finish this batch of cookies. Sprinkle cookies with dye-free sprinkles, if desired.
- Instead of removing the cookies from the parchment paper, keep them on the parchment sheet and just move the whole sheet of parchment and cookies onto a cookie sheet.
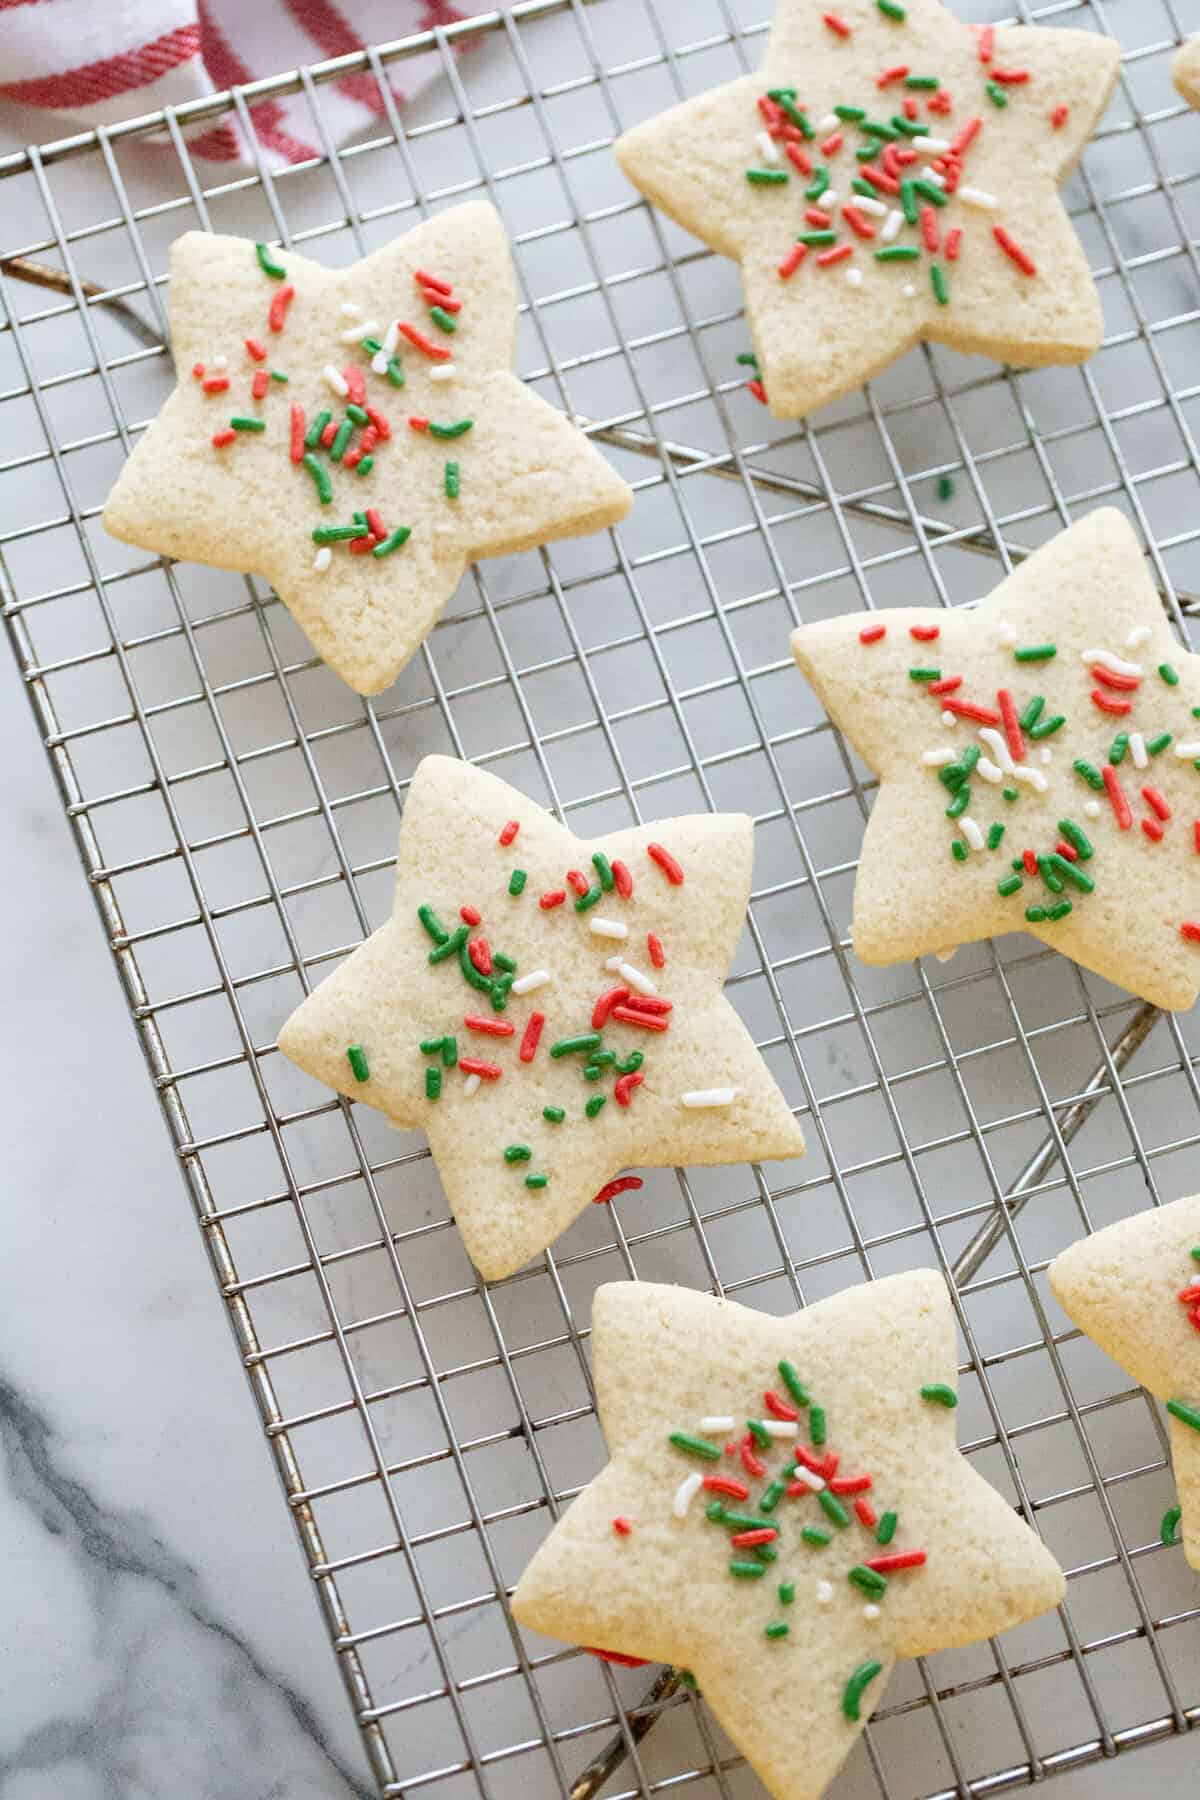
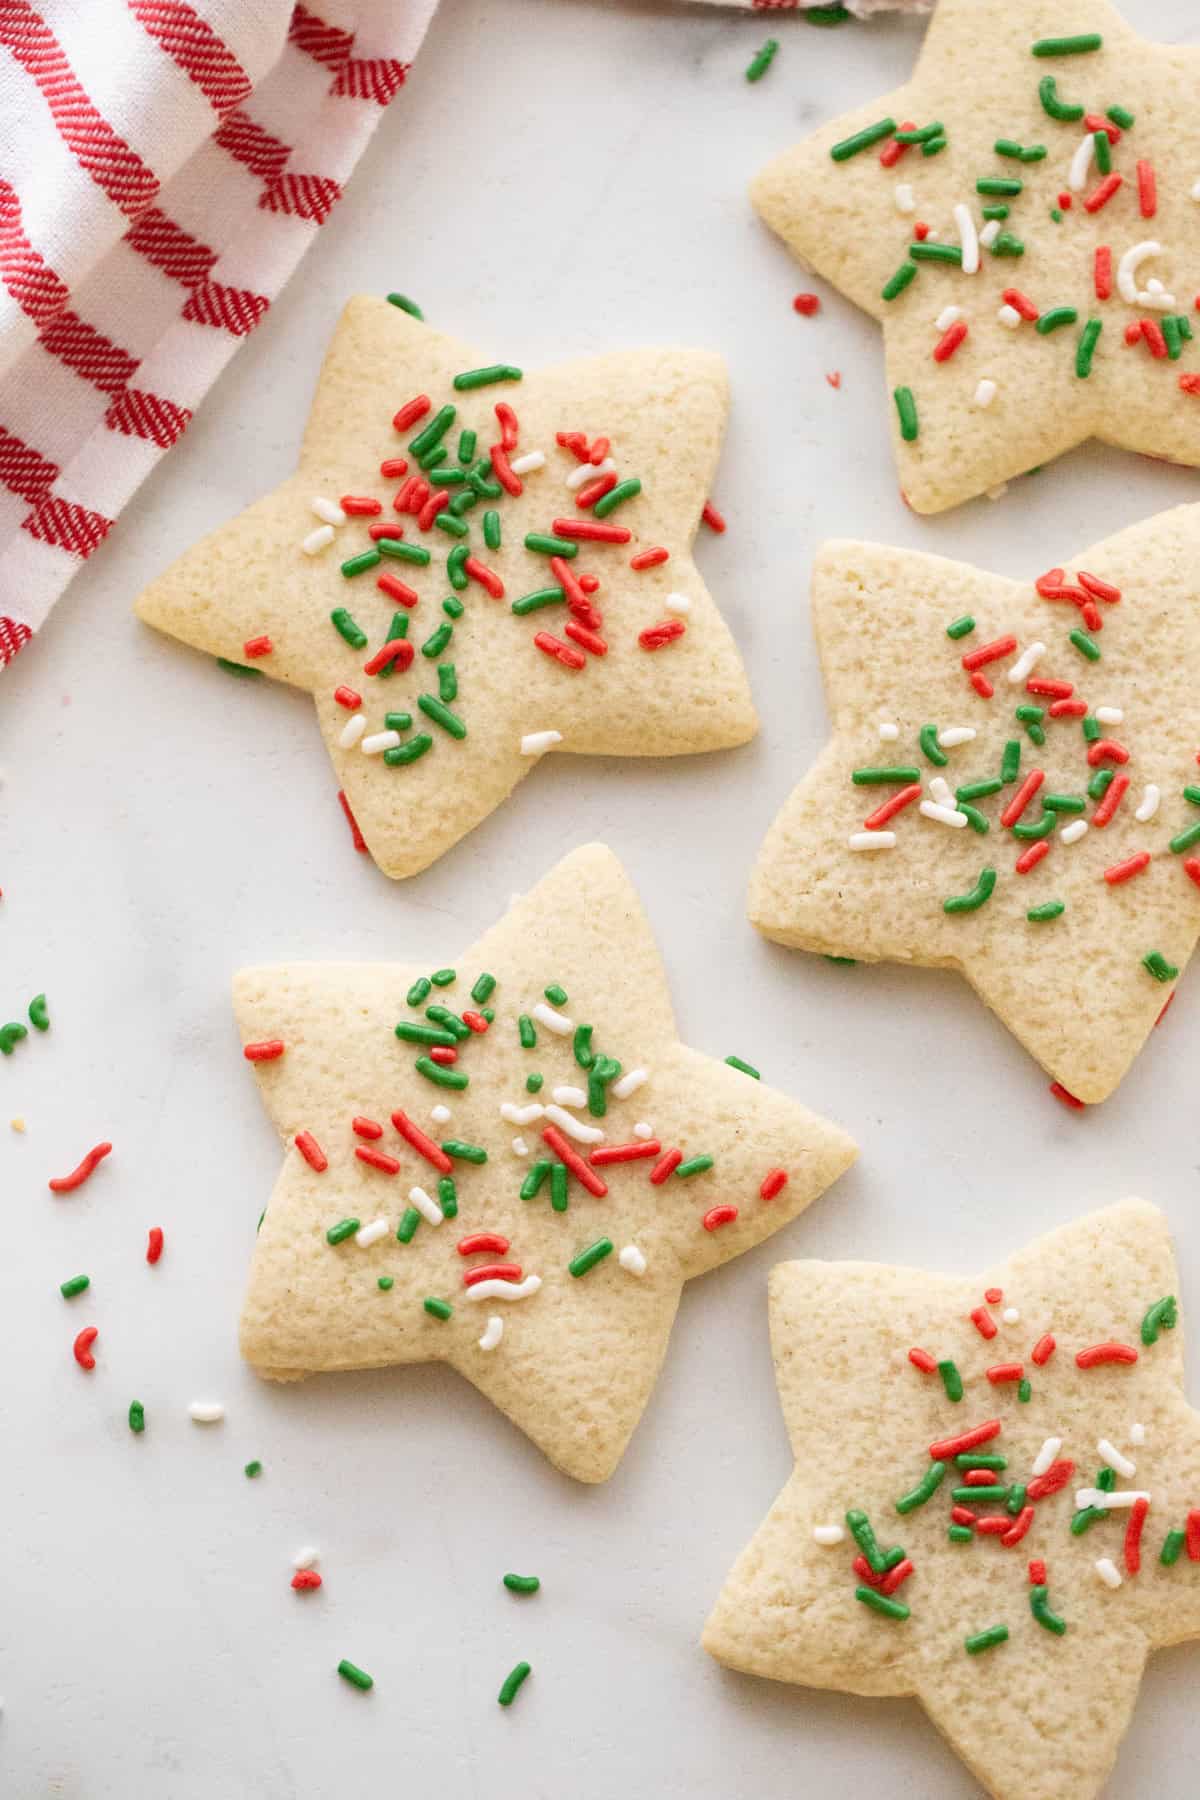

- Place the prepared baking sheet in the oven, and bake the cookies for 6 minutes or just until they appear cooked, and the edges look just a tiny bit crispy. You don’t want your cookies to brown at all, as they will get too crunchy when they cool.
- Remove the cookies from the oven and let them cool on the baking sheet for 3 minutes, and then remove to a wire cooling rack to cool completely.
- Repeat with remaining dough – I like to reuse the sheets of parchment as much as possible to cut down on waste.
Meal Prep and Storage
- To prep ahead: You can mix up the dough ahead of time, then cover tightly and place in the fridge until ready to use.
- To store: Store cookies in an airtight container – no need to refrigerate. You can also place them in gallon sized ziplock bags. Cookies should last up to two weeks.
- To freeze: These freeze perfectly! I love pulling them out of the freezer whenever a cookie craving strikes. Just flash freeze them in a single layer on a lined baking sheet, then place them in a freezer safe container or gallon sized ziplock bag for 3-5 months. Thaw on the counter for best results.
Recipe FAQs
While both of these flours are gluten free, neither will work in this recipe. If you want to use different flours, I would try a different cookie recipe. I love these No Bake Peanut Butter Cookies with coconut flour and these Gluten Free Chocolate Chip Cookies made with almond flour.
I haven’t tried this, but I will and report back. If you don’t have a cookie cutter, I recommend using a small glass, shot glass, or tiny bowl!
I have not tried an egg free version of these, so I can’t say for sure. If you try an egg replacer, let us know how it goes! You might like this vegan and gluten free sugar cookie recipe.
More Dairy-Free and Gluten-Free Cookies
- Healthy Thin Mints
- Gluten Free Monster Cookies [Dairy Free]
- Healthy Samoas Cookie Bars [Gluten Free]
- No Bake Peanut Butter Cookies [Vegan | GF]
- Easy Chocolate Macaroons [Allergy Friendly]
- Gluten Free Chocolate Chip Cookies

Gluten Free Sugar Cookies
Ingredients
- 5 Tablespoons butter softened- I used Earth’s balance dairy free
- 1/2 cup+ 2 Tablespoons organic sugar you can sub any cane sugar
- 1 egg room temperature
- 1/2 teaspoon vanilla extract you can sub almond extract if you prefer that flavor
- 1 ½ cup gluten free 1:1 baking flour TIP: spoon the flour into the measuring cup instead of scooping it out to make sure you are measuring correctly
- 1/4 teaspoon salt omit if your dairy free butter is salty
- 1/4 teaspoon baking soda
Instructions
- Preheat the oven to 350 degrees F.
- With an electric mixer or in the bowl of a stand mixer, beat together the butter and unrefined sugar on medium-low speed for about 2 minutes.
- Add the egg and vanilla extract and beat until well combined. Add dry ingredients and beat until combined and a dough ball forms.
- Cut two pieces of parchment paper, and using a rolling pin, roll out sugar cookie dough between them. Roll dough about ¼-⅛ inch thick. You don’t want them too thin or they will be too crispy.
- Remove the top portion of parchment paper and set aside.
- Using your favorite cookie cutters or a small glass, cut out your desired cookie shapes. Carefully remove excess dough from the parchment paper, wrap in plastic wrap, and place in the fridge while you finish this batch of cookies. Sprinkle cookies with dye-free sprinkles, if desired.
- Instead of removing the cookies from the parchment paper, keep them on the parchment sheet and just move the whole sheet of parchment and cookies onto a cookie sheet.
- Place prepared baking sheet in the oven, and bake the cookies for 6 minutes or just until they appeared cooked and the edges look just a tiny bit crispy. You don’t want your cookies to brown at all, as they will get too crunchy as they cool.
- Remove the cookies from the oven and let them cool on the baking sheet for 3 minutes and then remove to a wire cooling rack to cool completely.
- Repeat with remaining dough – I like to reuse the sheets of parchment as much as possible to cut down on waste.
Video
Notes
- To prep ahead: You can mix up the dough ahead of time, then cover tightly with plastic wrap and place in the fridge until ready to use.
- To store: Store cookies in an airtight container – no need to refrigerate. You can also place them in gallon sized ziplock bags. Cookies should last up to two weeks.
- To freeze: These freeze perfectly! I love pulling them out of the freezer whenever a cookie craving strikes. Just flash freeze them in a single layer on a lined baking sheet, then place them in a freezer safe container or gallon sized ziplock bag for 3-5 months. Thaw on the counter for best results.


Sydney U. says
My go to sugar cookie. So easy. So good. Followed the instructions to a T and cookie was pillowy soft 😋
Nancylynn says
This makes me SO happy, Sydney! Thank you so much for taking the time to write this! 💕
DeAna says
These turned out sooo good!! I did a few subs but they all worked out so well together! I’m sharing everything I did for anyone else trying substitutions! I subbed cane sugar for brown coconut sugar. I knew this would make them darker in color but I was cool with it. for the two extra tbs of sugar I used date sugar. I also made them vegan by subbing egg for aquafaba and unsweetened applesauce. (1 1/2 TBS aquafaba, half 1/4 cup of applesauce) I mixed the butter, egg replacement, sugar and almond extract together for about 3 minutes then added the GF flour. I used Bobs Red Mill 1:1 flour. I mixed for another few minutes and added a bit more flour. The dough ball was soft but not anything concerning. I just heavily floured the top and bottom once on the parchment paper and it rolled out great!!! I cooked them for about 7 minutes and really took heed to your note of not letting them turn brown (even though I was worried I wouldn’t be able to tell because the cookies were already dark lol) but I set the timer for 6mins and ended up waiting another minute and they were perfect!! Lightly toasty on the edges and a soft chewy, soft crumble on the inside. They hold together really well. my daughter loved them!! And told me to make sure I save your recipe! Thank you!! 🙂
Nancylynn says
Thank you so much for this detailed response – I am excited to try your modifications! Thrilled that your daughter enjoyed!
DeAna says
These turned out sooo good!! I did a few subs but they all worked out so well together! I’m sharing everything I did for anyone else trying substitutions! I subbed cane sugar for brown coconut sugar. I knew this would make them darker in color but I was cool with it. for the two extra tbs of sugar I used date sugar. I also made them vegan by subbing egg for aquafaba and unsweetened applesauce. (1 1/2 aquafaba, half 1/4 of applesauce) I mixed the butter, egg replacement, sugar and almond extract together for about 3 minutes then added the GF flour. I used Bobs Red Mill 1:1 flour. I mixed for another few minutes and added a bit more flour. The dough ball was soft but not anything concerning. I just heavily floured the top and bottom once on the parchment paper and it rolled out great!!! I cooked them for about 7 minutes and really took heed to your note of not letting them turn brown (even though I was worried I wouldn’t be able to tell because the cookies were already dark lol) but I set the timer for 6mins and ended up waiting another minute and they were perfect!! Lightly toasty on the edges and a soft chewy, soft crumble on the inside. They hold together really well. my daughter loved them!! And told me to make sure I save your recipe! Thank you!! 🙂
Arilyn 😋 says
I tried to make some cookies shaped like the buttons from Coraline but the dough was too soft and melty for it to work. I picked a gluten free recipe so me and my mom could make them since she is allergic to gluten. The taste isn’t that bad but not good and they are extremely crumbly 🙁 the taste is like edible playdough 🙁
Nancylynn says
What kind of flour did you use? Sorry you didn’t enjoy these. Try Meaningful Eats for GF Baking Recipes that aren’t “healthier.”
Arin says
Pretty good, fairly easy. Took me a very long time to mix the butter and sugar together. The cookies took around 12 minutes to fully bake. They turned out very dry though.
Nancylynn says
It may have been the mixing! Also was your butter softened prior to starting?
Luanne says
Can I make these as a drop cookie?
Nancylynn says
I haven’t tried that, but would be curious to know if this worked!
Liz jones says
I made these mine turned out very nice! I would definitely do these again so simple! Perfect cookies
Nancylynn says
Thank you Liz!
Ariel says
Ours is too sticky & taste is somewhat off. Is this cause we used almond flour?
Nancylynn says
Could be!
Jen J says
I used the same flour and butter recommended but I used coconut sugar. Maybe that’s why I had issues but my dough was too soft, sticking to parchment paper, etc. so I had to refrigerate and then it got a bit easier to work with but the cookies spread a lot that they weren’t recognizable. I know it’s annoying when people say a recipe doesn’t work but they changed the ingredients but I wanted to mention it incase someone else tries to use coconut sugar. They tasted great!
Nancylynn says
Thanks for the feedback Jen!
Eljay says
Do you think I could change the sugar to make them sugar free? I need them to be without almond flour too so that’s why I like your recipe. Thanks
Nancylynn says
I haven’t tested them with a sugar substitute but let us know if you try it!
Liesl says
Thanks for this recipe! They worked out great. Used for Christmas cookies – did decorative icing on them. I would mention that with the gluten-free flour mix I used, it was fine to let them get a little crispier (hint of brown on the edge) or else they were too soft to ice. And, as you mentioned, rolling them out thin enough was key. Took one batch for a learning curve and then smooth baking! My bf and I made these together and we had a lot of fun baking and eating! I will be saving this recipe for next year!! Thank you
Nancylynn says
So, so happy to hear this, Liesl! Thank you so much for taking the time to let us know!
Michelle says
I’ve just made these and they are very crumbly. Could it be because I’ve used coconut sugar?
Kerri says
Mine did too, and I followed the recipe exactly. It wouldn’t form literally at all. It was the last of my gluten free flour, so tried adding 2 more eggs and a few more tablespoons of the dairy free butter. It finally formed, but after cooked they did not stay together when eating. With my daughter gluten free, dairy free I really wanted this to work. Would love to know where it went wrong 😕
Nancylynn says
Hi – I am so sorry this didn’t work for you. I have made this recipe so many times. Can you tell me what kind of flour you used and what made you add more eggs? Was it too crumbly? Also, do you scoop your flour or do you spoon it into the measuring cup?
Julie says
Mine are a crumbly mess too. The dough never formed a ball. It’s not really dough, just a bowl full of tiny crumbles. I am tempted to add more butter or egg as well to try and make it soft enough to even work with.
Nancylynn says
Was your butter room temp enough? How did your tweaks turn out?
Andi says
I had to add about 2 tablespoons of milk for mine to form into a dough ball
Nancylynn says
Thanks for the feedback Andi!