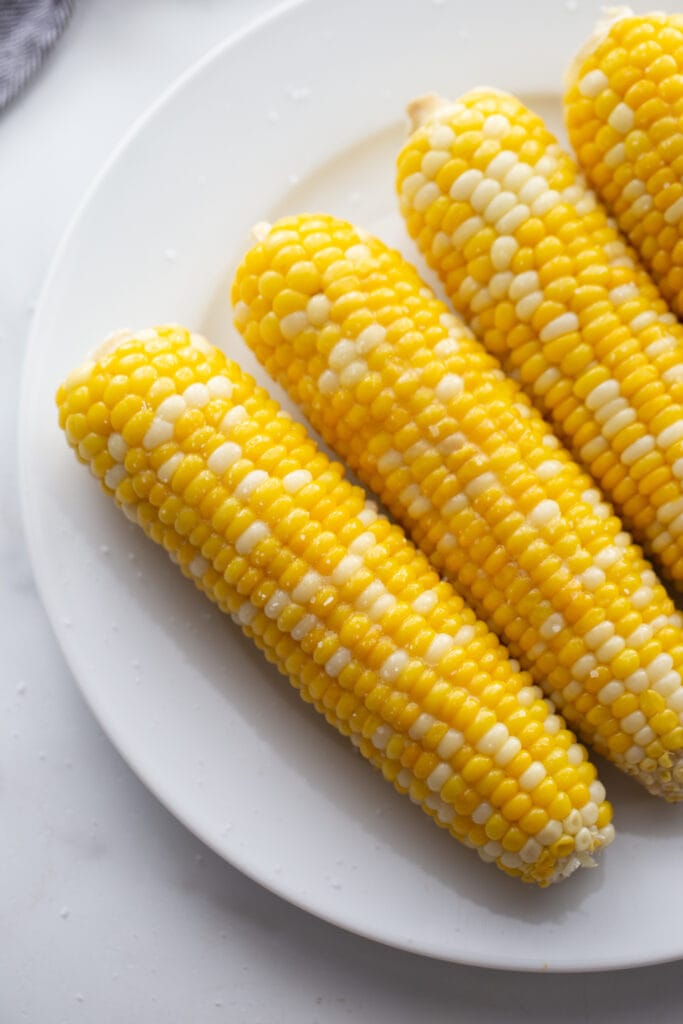
Instant Pot Corn on the Cob is a quick and easy side dish that is foolproof for even a newbie Instant Pot user. No need to boil a big pot of water on the stove, this side dish is ready to complete any meal, potluck, or picnic in minutes! This post contains affiliate links for products I’m obsessed with.
Instant Pot Corn on the Cob
Gone are the days where you have to wait for a pot to boil and then keep watch so it doesn’t boil over when cooking corn on the cob. With this Instant Pot method, you can have tender, flavorful, and oh-so-sweet corn in just a matter of minutes. No boiling is necessary. The Instant Pot makes this process completely foolproof. The most time consuming part of this recipe is shucking the corn before cooking. Don’t forget to remove the silks!
The prep work for the corn is perfect for little hands that want to help in the kitchen. While you prepare the rest of the meal, have the kids get hands on and shuck and de-silk the ears of corn for you. If your kids are competitive like mine, you can even make it a game to see who can get the most done the fastest! Using your kids is the easiest way to get your corn cobs shucked.
Why I love this easy Instant Pot Corn on the Cob
- You get juicy corn every single time
- Perfect way to use your sweet summer corn
- Easy way to get the kids in the kitchen helping and learning
- You get perfect corn in less than 10 minutes- using the Instant Pot has become my favorite way to get stuff done FAST!
- The whole family loves tender corn with dinner so it’s always a winner.
Ingredients for Instant Pot Corn on the Cob
With just two simple ingredients, you’re minutes away from a the perfect side dish!
- corn on the cob – 4 ears of fresh corn, make sure to remove the husks and silk.
- water – one cup, cold water
How To Make Instant Pot Corn on the Cob
Corn on the Cob in under five minutes? Sign me up.
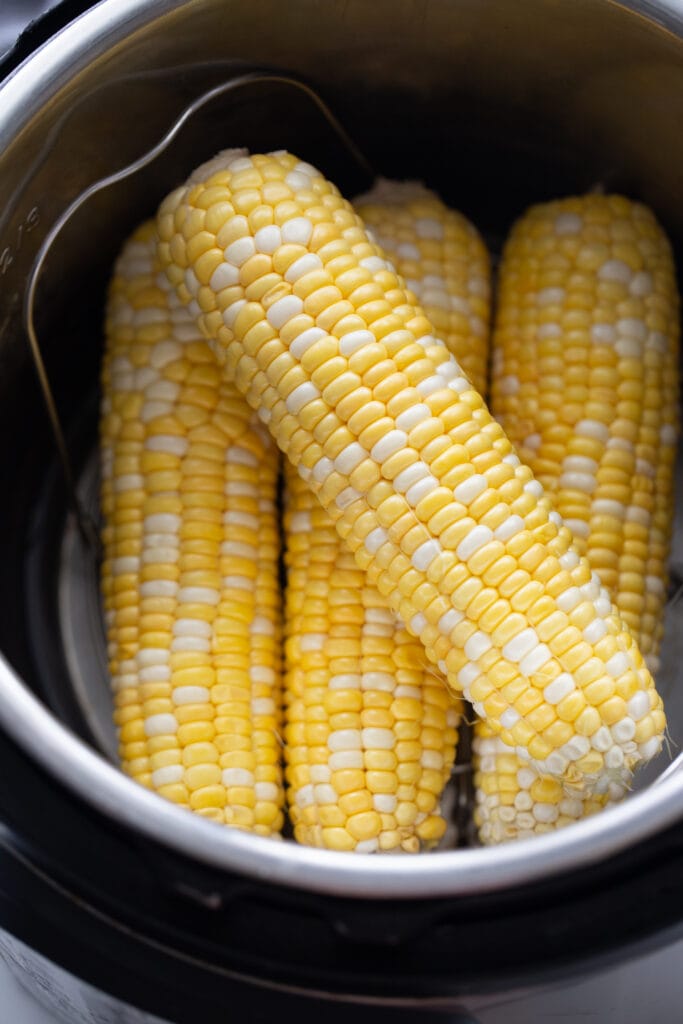
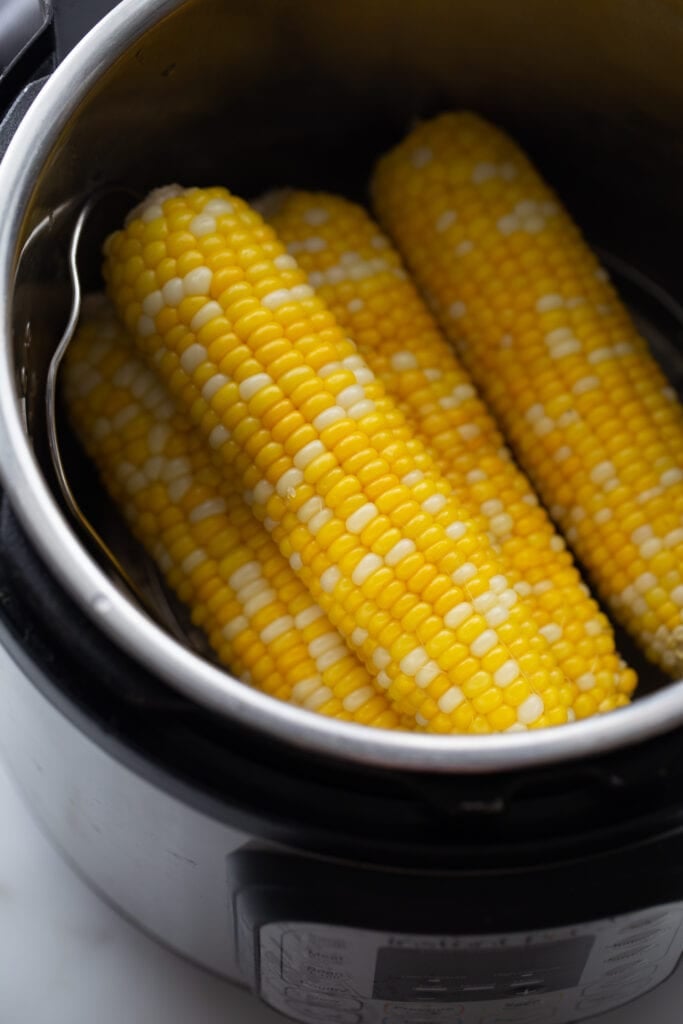
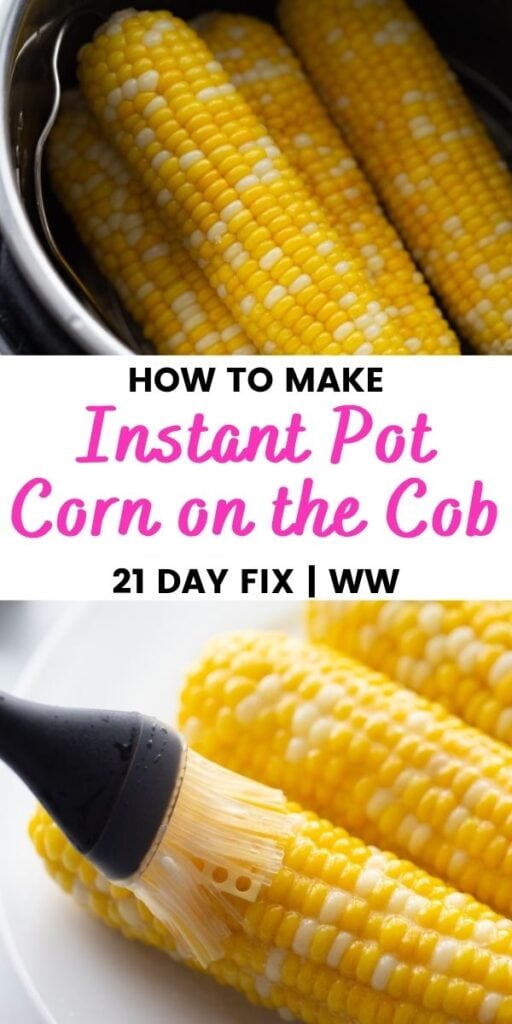
- First up, add one cup of cold water into the Instant Pot. Place a trivet in the Instant Pot, then place 4 ears of corn on the cob on the top of the trivet.
- Lock the Instant Pot lid and be sure the knob is set to the sealing position. Cook at manual/high pressure for 2 minutes (1 minute if you have very small or baby ears of corn).
- Do a quick release immediately following the cook time.
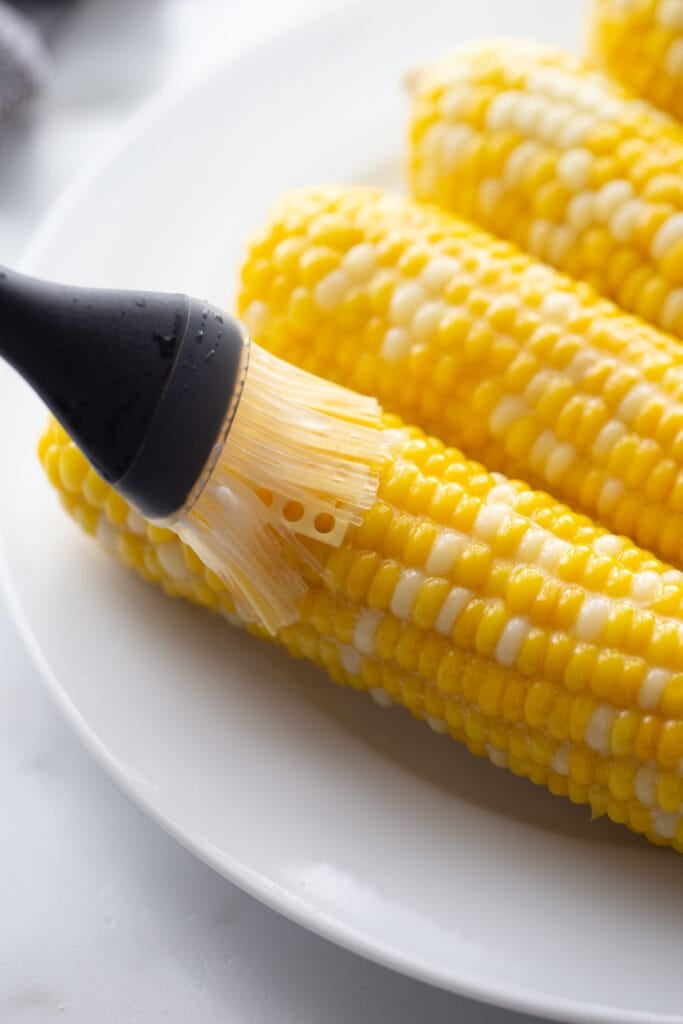
- Remove corn from the Instant Pot and serve warm with your favorite toppings (we love a little vegan butter and sea salt!). Enjoy!
How Can I Dress Up My Instant Pot Corn on The Cob?
There are so many ways you can dress up your corn on the cob. Our favorite is vegan butter and a dash of salt. But you can get creative! Try chili powder and lime reminiscent of Mexican Street Corn. Add parmesan cheese and a dash of garlic. Add cajun/ Creole spices for a low country boil flavor. Use the leftovers in my Mexican Street Corn Salad or my Roasted Corn and Black Bean Salad.
How Long Will the Corn on the Cob stay fresh?
Be sure to let the corn cool after cooking, then store in an airtight container or a ziplock bag in the refrigerator for up to 3 days. If you’d like to freeze the corn, remove the kernels from the cob and freeze for about 3 months. Great for meal prepping!
How Many Ears of Corn Can Be Cooked At Once?
Depending on the size of your Instant Pot, you can fit between 4-8 ears of corn inside. Be careful not to crowd the Instant Pot and make sure corn is spaced evenly to cook evenly. Cook times may need to be adjusted for the amount of corn being prepared.
Helpful Tips
- The best way to remove your cooked corn is to use tongs from the Instant Pot as they’ll be too hot to touch with your bare hands.
- You can use your homegrown corn, corn you get at the local market farm stand, or the cobs of corn you grab from the grocery store.
- The time it takes for your Instant Pot to come up to pressure and for the pressure to be released is not included in the cook time.
- If this is your first time making the recipe follow my recommendations and see how it cooks in your specific Electric Pressure Cooker and adjust as necessary the next time you make it since every Instant Pot cooks slightly different.
How to Store Your Delicious Corn
Once you’ve made your corn according to this easy Instant Pot recipe, if you aren’t eating all of the corn, it’s time to store it properly. Leftover corn should be placed in an airtight container, storage zip top bag, and stored in the refrigerator for up to 5 days. You can also store individual ears of corn wrapped in aluminum foil in the fridge.
You can freeze your cooked corn in the freezer in a freezer-safe container or freezer-safe bag for up to 3 months. Remove the frozen corn from the freezer and let it thaw in the fridge overnight.
What should I serve with Instant Pot Corn on the Cob? Try one of these favorites-
Instant Pot BBQ Chicken [Crock Pot Option]
BBQ Chicken Burgers [Air Fryer + Grill]
My Fave Burger Recipe + Burger Sauce
Pulled Pork with Maple BBQ Sauce
Instant Pot Corn on the Cob
Ingredients
- 4 ears corn on the cob husks and silk removed
- 1 cup cold water
Instructions
- Add 1 cup of cold water in Instant Pot. Place a trivet in the Instant Pot, then place 4 ears of corn on the cob on the trivet.
- Lock IP lid and be sure the knob is set to sealing. Cook at manual/high pressure for 2 minutes (1 minute for very small corn), then do a quick release immediately following cook time.
- Remove corn from IP and serve warm with your favorite toppings (we love a little vegan butter and sea salt!)



Leave a Reply