This amazing Instant Pot Copycat Rice a Roni Recipe is the perfect healthier, gluten free alternative to my favorite childhood side dish! It pairs with any meal and is quick and easy to whip up. Plus with the use of the Instant Pot, you can set it and forget it while working on the rest of dinner!
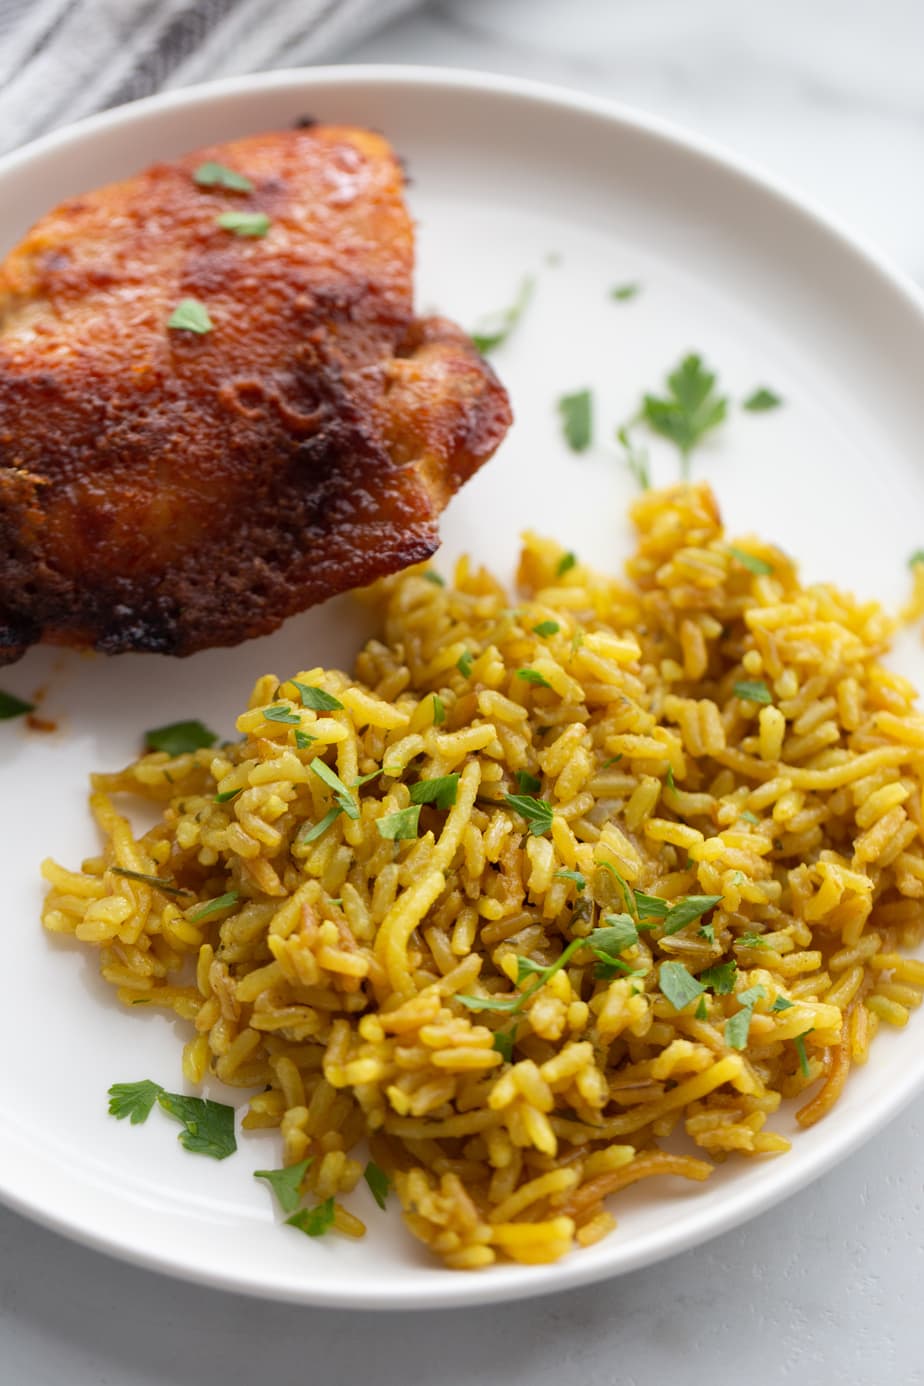
Instant Pot Rice A Roni
Raise your hand if Rice a Roni night was your favorite night growing up? Yep – samesies. I’m pretty sure my grandmother made this tasty side every week along with my other fave – Chicken Cutlets. My childhood on a plate.
And as much I would love to break open a package for old times sake, the boxed version is full of sodium and not so good for you ingredients…and not to mention, gluten. But worry not! Today I’ve got the perfect homemade copycat version that has the same great taste you know and love, but with healthier ingredients! It’s also made in the Instant Pot (which has also become a household staple) so it’s made in a cinch with no standing around waiting for water to boil.
This side goes great with my Air Fryer Chicken Thighs and your favorite veggie. We love making Air Fryer Zucchini for a quick an easy side. Or try these Balsamic Brussel Sprouts for the perfect dinner combo!
Also serve this rice recipe with:
Air Fryer Chicken Cutlets – just like my Grandma used to make!
Chicken Scallopini – so quick and easy!
Air Fryer Pork Tenderloin – a family favorite!
Baked Lemon Garlic Chicken – another recipe on repeat here!
or truly any protein!
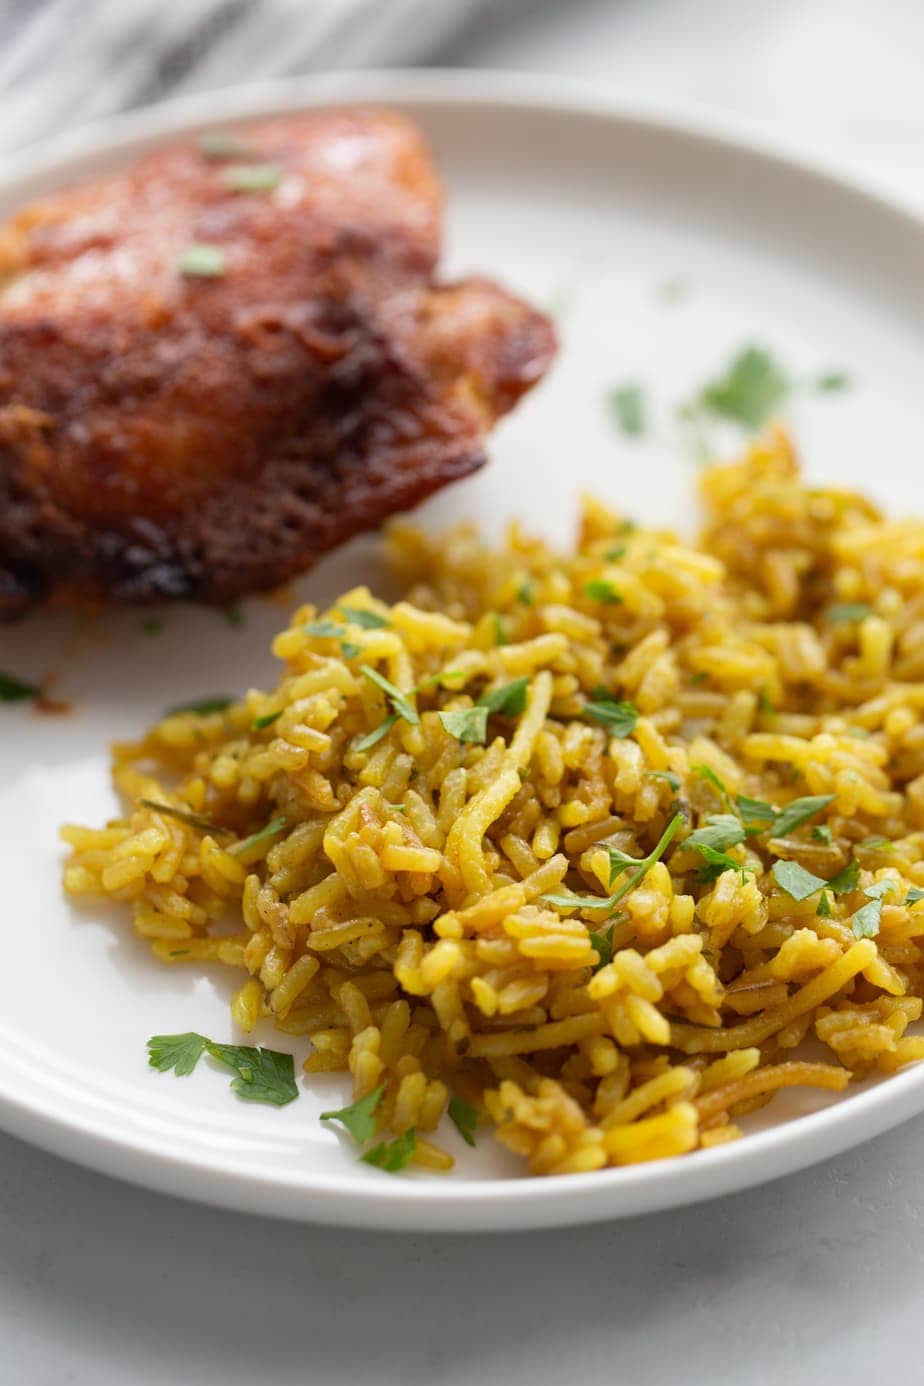
Ingredients for Homemade Rice A Roni
This recipe is not only easy to make, but it uses pantry staples you likely already have on hand. You need:
- butter – or make it vegan with vegan butter!
- gluten free spaghetti – we are going to break it up into tiny pieces. If you aren’t gluten free, you can try whole wheat and it should sub ok.
- brown rice – The traditional recipe uses long grain white rice, but brown rice has more fiber!
- low sodium chicken broth – Chicken stock can be substituted as well, or if you want to keep this vegetarian, use veggie broth.
- minced dried onion – you can sub onion powder if that is all you have, but it’s worth picking up some of the dried onion for spot on flavor.
- garlic powder – This gives the Rice a Roni that classic taste.
- turmeric – to give this side it’s signature color
- salt – as always, start with less then taste and add more if you need it.
- dried parsley – the final step to the perfect flavor
How to Make Instant Pot Copycat Rice A Roni
With just a few simple steps, you can have the classic dish of your childhood.
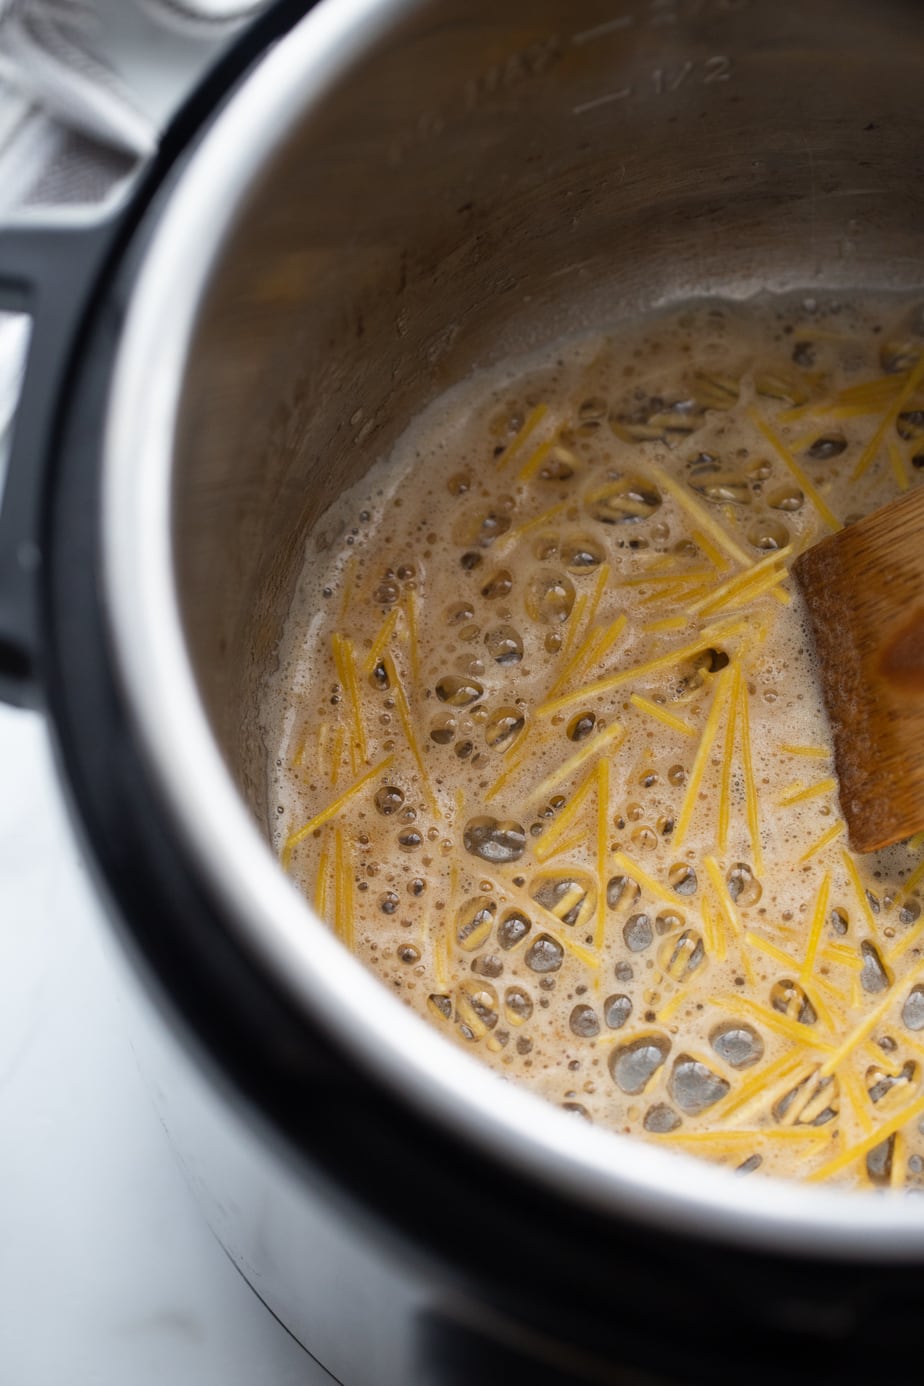
- Set your Instant Pot to sauté and melt 2 teaspoons of butter once the IP reads hot. Add the ¼ cup of spaghetti pieces and sauté for 1-2 minutes.
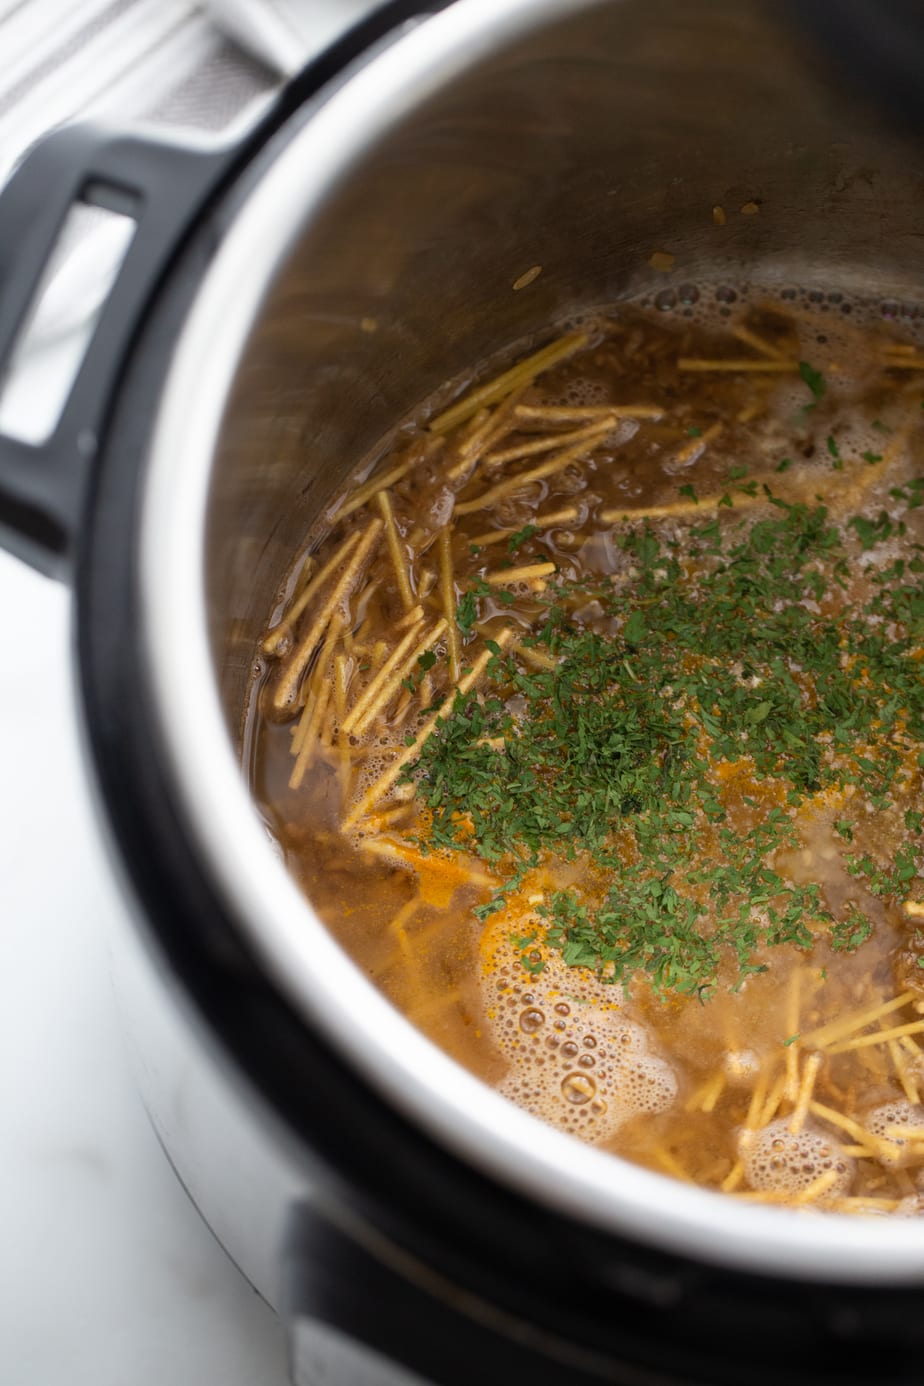
- Next up, add in brown rice and toast for an additional minute, then add in the broth, garlic powder, turmeric, dried onion, and parsley. Cook for 22 minutes on manual high pressure and then let your pot naturally release for 10 minutes before releasing the rest of the pressure manually.
- Fluff the rice a roni with a fork and stir in the remaining 2 tsp of butter. Taste and adjust your seasonings as necessary, and enjoy!
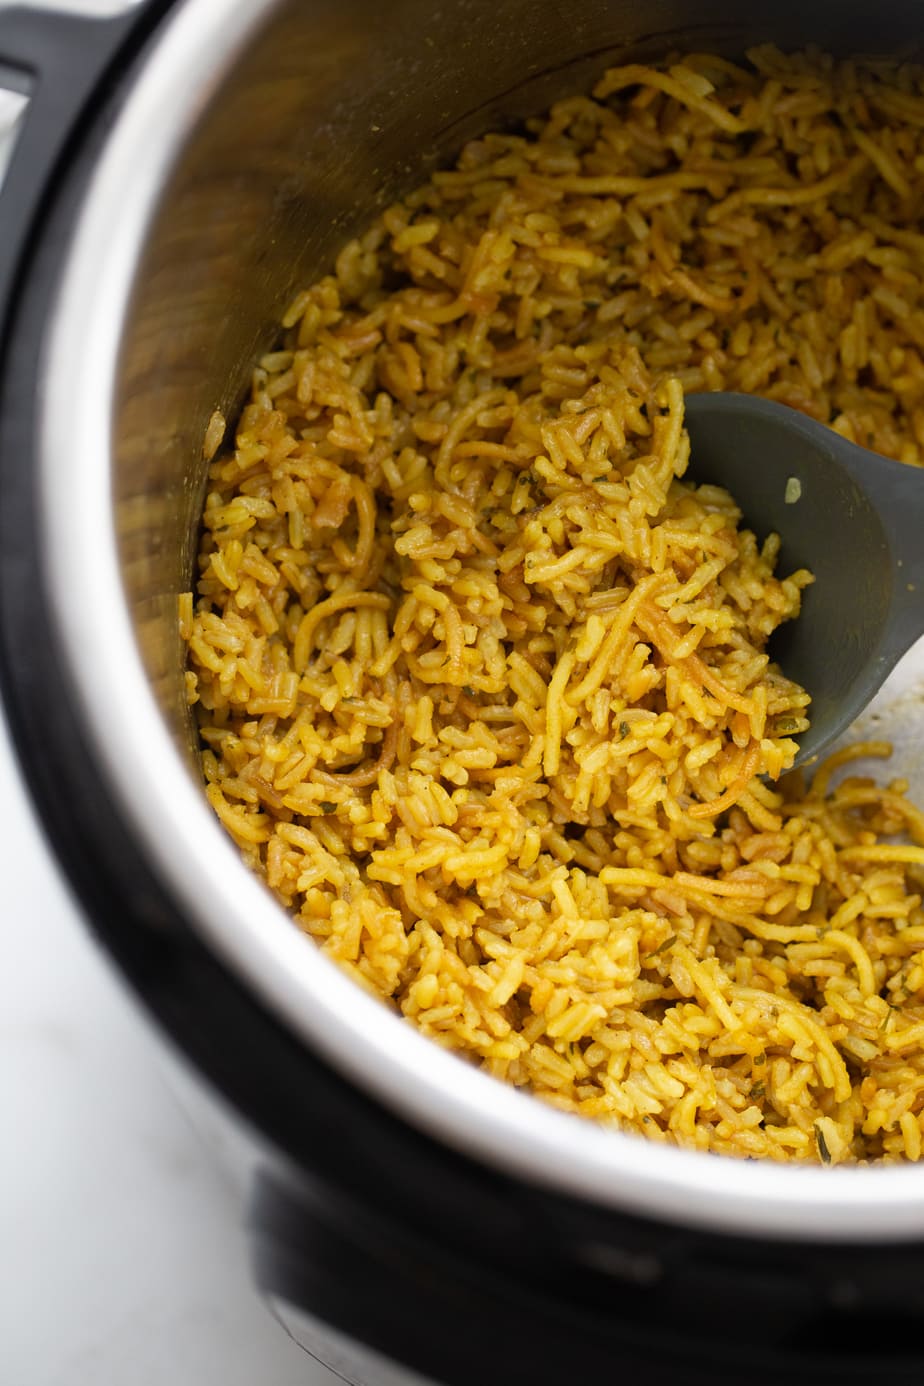
You can store this rice pilaf in an airtight container in the fridge for up to four days to retain the best flavor. Simply reheat in the microwave until warmed through. It’s also freezer friendly!
It sure can! Just substitute the chicken broth or stock for vegetable broth or stock. The traditional Rice A Roni recipe does have that chicken flavor to it, so it will taste slightly different than the original. Make sure to use vegan butter as well!
Sure! If you are following the 21 Day Fix, white rice isn’t on the yellow food list, so stick with brown. But if you want to swap it with white rice, cook it for 8 minutes with a 10 minute natural release.

Ready for More Instant Pot Brown Rice Recipes? Check Out These!
Instant Pot Chicken Wild Rice Soup
Healthy Instant Pot Brown Rice Pudding
Freezer Friendly Instant Pot Brown Rice
Instant Pot Stuffing with Brown Rice and Sausage

Copy Cat Rice a Roni [Instant Pot]
Ingredients
- 4 teaspoons butter or vegan butter divided
- ¼ cup gluten free spaghetti broken up into small pieces
- 1 cup brown rice
- 1 ¼ cup low sodium chicken broth or stock
- ½ teaspoon minced dried onion
- ½ teaspoon garlic powder
- ¼ teaspoon turmeric
- ¼-½ teaspoon salt
- ½ teaspoon dried parsley
Instructions
- Set Instant Pot to saute and melt 2 teaspoons of butter once the IP reads hot. Add the ¼ cup of spaghetti pieces and saute for 1-2 minutes.
- Add in brown rice and toast for an additional minute, then add in broth and seasonings. Cook for 22 minutes on manual high pressure and then let your pot naturally release for 10 minutes before releasing the rest of the pressure manually.
- Fluff rice with a fork and stir in remaining 2 tsp of butter. Taste and adjust seasonings as necessary. Enjoy!


Donna Anderson says
Seriously so amazing. All my picky kids loved it and asked for seconds.
Nancylynn says
Picky kid endorsement is the highest compliment! Thank you!
Jacquelyn says
Another delicious recipe!! The flavor is great! As a few others stated, my rice wasn’t fully cooked. (Maybe due to the kind I was using…it was not the minute rice kind) I added just a bit more broth and set it for 3 more minutes and it turned out great! I also used garlic salt instead of powder (ran out) and then just skipped the sea salt. I did add in a bit of salt when reheated as leftovers the next day. Thanks, as always, for a healthy, delicious recipe the whole family enjoyed!!
Nancylynn says
Thank you for your feedback, Jacquelyn!
Emily says
I’ve made this twice. The first time I made it, it was delicious and well liked by my husband and kids. The second time I made it I doubled it and the rice didn’t fully cook. Do I need to increase the cooking time or add more broth or both?
Nancylynn says
Hmm that’s weird! As long as you doubled the broth along with the rest of the ingredients, you should have been fine! Keep the cooking time the same. I always make a double batch, too! Next time, if it happens again, just rest the lid back on for 5-10 min and the steam should cook the rice the rest of the way. Let us know how it goes!
Alexis says
Had to come on here to rave!
I just tried the copycat Rice-a-Roni and oh my gosh guys…YES!! It is identical, actually BETTER, than the real thing and soooo easy to make. My taste buds and my stomach were happy to say the least. Definitely something you could make as a side for any event, meal or pot luck. I am super happy I tried this recipe and 10000% recommend everyone try it. 😋
Nancylynn says
Doing a happy dance with this comment!! Thank you so much, Alexis!!
Jill says
I’m not the original poster, but I’ve made pilafs like this on the stovetop, so I’ll describe how I would do it. It’s almost exactly the same as the Instant Pot method except that you will need more water and a longer cooking time. You will need a deep skillet with a cover or a heavy saucepan with a cover. The skillet is preferable if you have it because it works better for the saute steps. If you use a saucepan you might want to saute the rice for an extra minute.
Melt the butter in your pot on medium heat, then add the broken-up spaghetti pieces. Saute the spaghetti for a minute or two, then add the brown rice. Saute for another minute or so, enjoying the toasty smell of brown rice in butter. Add the seasonings along with 2-1/4 cups chicken broth. Bring to a boil, then cover the pot and reduce heat to very low. Cook covered on low for 45 minutes, then turn off the heat and let the rice steam for 10 minutes. Uncover the rice, add the remaining butter, and fluff with a fork.
It is important not to remove the cover from the rice from when you lower the heat to when it finishes steaming. Opening it to check will let the steam out. While the rice is cooking on low you should not see significant steam coming from the pot.
Casey says
have you tried this on the stove? or suggestions on how to do so?
Stacy says
I haven’t had Rice A Roni in years. I stopped buying most seasoned pasta and rice mixes because of headaches. I saw this recipe and was so excited to try it. It is another easy and delicious recipe. I served it with chicken and veggies. I portioned the leftovers for lunch, mainly because if I didn’t there wouldn’t be leftovers. 😉I will definitely make it again. Thanks for a great recipe!
Nancylynn says
This sounds so yummy, thank you so much for giving it a try! Portioning for leftovers – genius!
Angela says
Looks delicious! How could I make this on the stovetop?